Turning your
Rear Side Markers to
Park/Signal lights Modification
Original idea:
twospirits
Tester, Author, Images:
twospirits
Introduction
/ History
The Hyundai Santa Fe
comes with side markers. Two of them are located at the
front of the vehicle and which I modified to make alternating signal
markers. See this link. There
are two other ones in the rear in the stock light housing. Section A of this
modification shows you how to convert these static lights into signal lights
on the stock lights. If you have the new Euro lights that have been sold on
Ebay or by TFR Racing, those lights do not have a socket for the side marker
light and are usually terminated to close the circuit. Section B of this
modification shows you how to add aftermarket signal lights on the rear
bumpers to return this function as before. Whichever section you use, once
completed, will giveyou fully functional
rear side signal markers.
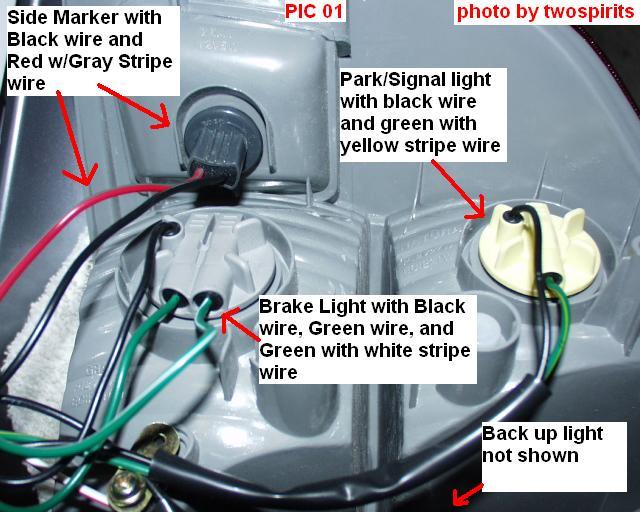
Familiarize yourself with
the locations of the lights in the housing. The stock rear lights are
comprised of 4 lights. The parking/turn signal, the backup, the brake and a
small side marker light.
We will be concerned with only two of them for this modification. The side
marker and parking/turn signal lights.
The small side marker light has two wires, a black wire and a red with gray
stripe wire.
The parking/turn signal light also has two wires,
a black one and a green with yellow stripe wire.
(SEE PIC # 01.)
Step 2:(Wiring
the stock marker)
Before we proceed any
further, I would disconnect the negative battery cable if you haven't done
so already.
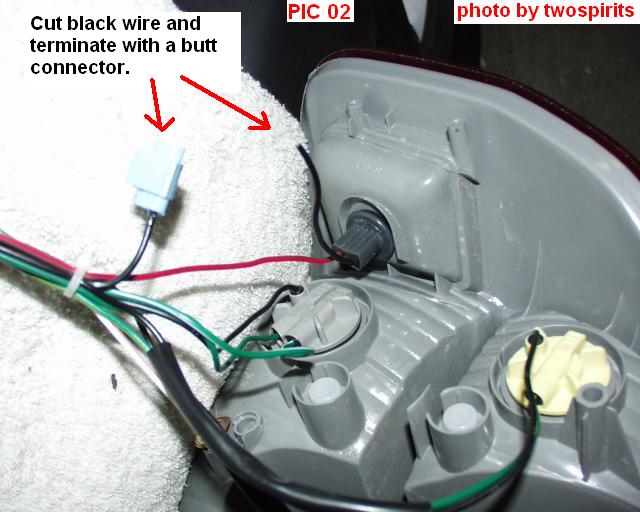
Cut the black wire that leads to the side marker and terminate the end that
leads closer to the vehicle. You can terminate it by either electrical tape
or a butt connector. I used a butt connector and dabbed it with silicone.
(SEE PIC # 02.)
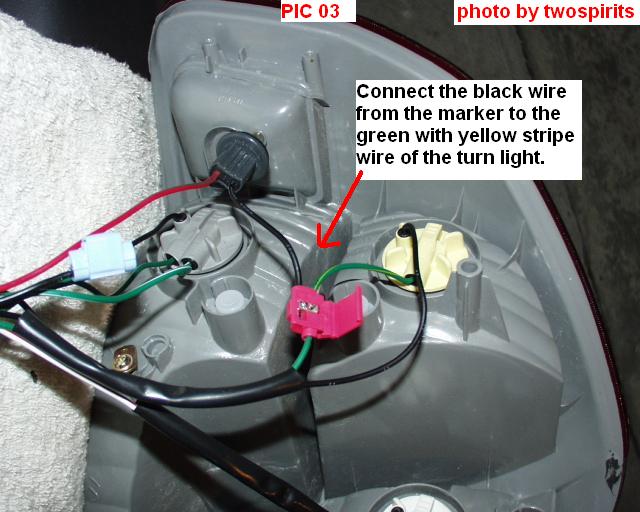
You will be connecting the
markers black wire (the one you just cut in the previous step), to the green
with yellow stripe wire of the turn light. Add a butt connector to the
connect them. (SEE PIC # 03.)
Proceed to steps 3-5
below.
Section B:
For Euro Lights
Step 1:Familiarization
and preparation.
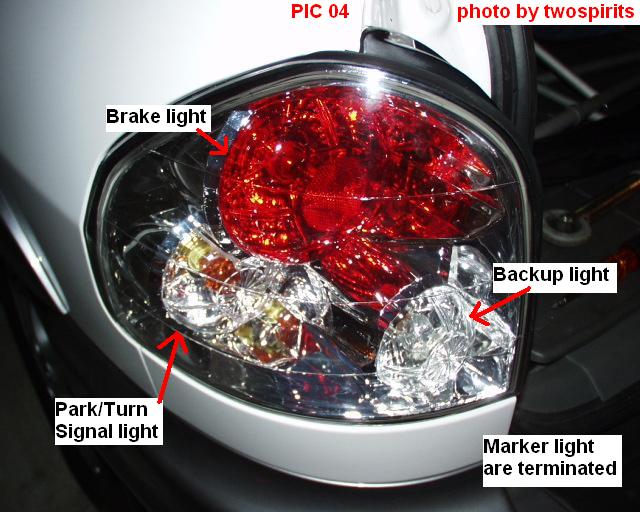
For those that have the
Euro lights, they only have three lights. The marker light is no longer
used. Most just take out the light and leave it dangling inside. The
park/turn signal light is suppose to be both a side marker as well as the
turn / park light.
(SEE PIC # 04.)
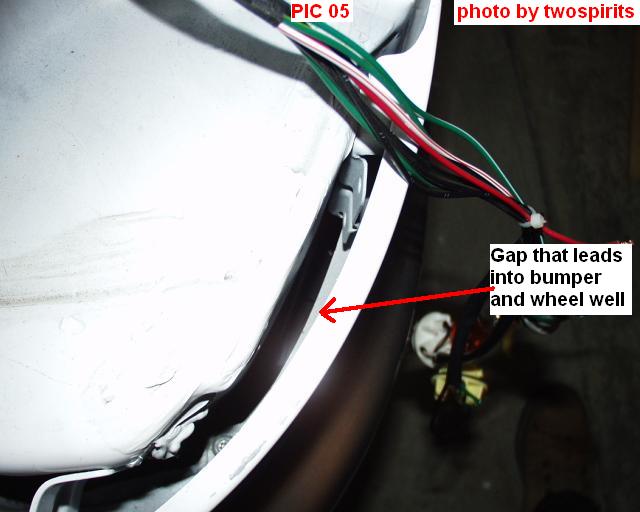
If you take the euro light
out of its bay, you will see a gap that goes into the bumper.
(SEE PIC # 05.)
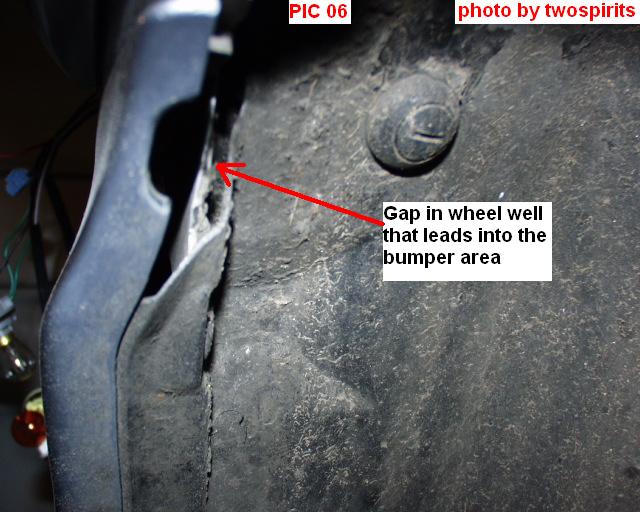
If you look inside the
rear wheel well, you will see a gap as well that goes into the bumper area. (SEE PIC # 06.)
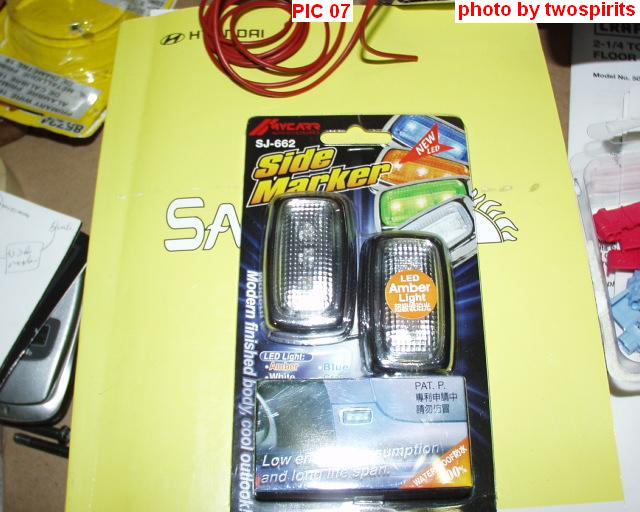
Get a side marker (I got
mine from a local shop here in NYC called Pet Boys Toys, unfortunately they
do not have a website), but I'm sure you can find it at any at Autozone or any
other auto parts store. The one I chose is made by MyCarr # SJ-662 Chrome Amber. (SEE PIC # 07.)
Update: That particular item is hard to
find online, but there is an exact copy of it available at
Racing
Lab. Its part # LSM220 and sells for $38.95. They also have the Oval and
Round shape markers. Special thanks to Allen Whitwell for noticing that the
originals are no longer available.
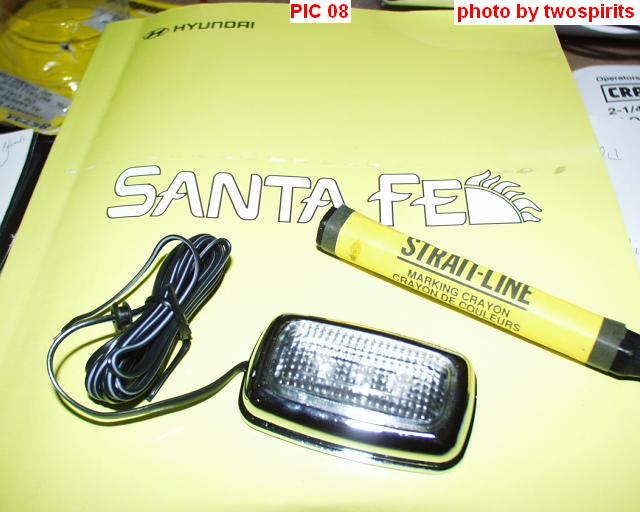
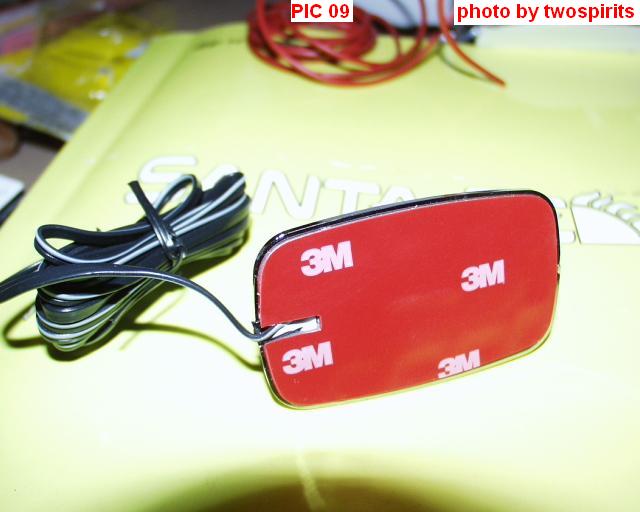
Out of the package, it is
a chrome amber led side marker with two wires. (SEE PIC # 08.)
The back side of the
marker consists of 3M tape. (SEE PIC # 09.)
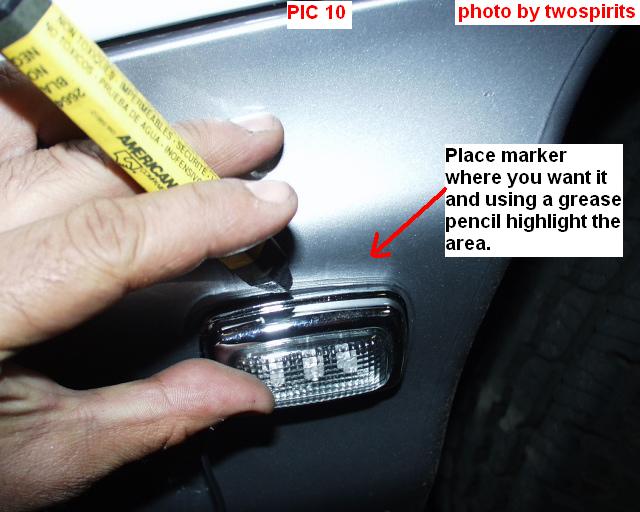
Place the marker where you
want it to be and with a grease pencil, mark the position, or outline the
area. (SEE PIC # 10.)
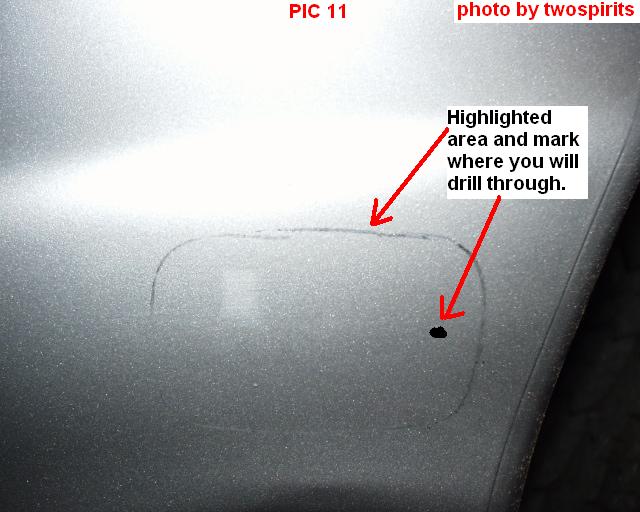
After you highlighted the
area, you will drill a hole large enough for the wire to go through. I used
a 5/32 size drill bit. Its soft plastic so it will not be a big deal. (SEE PIC # 11.)
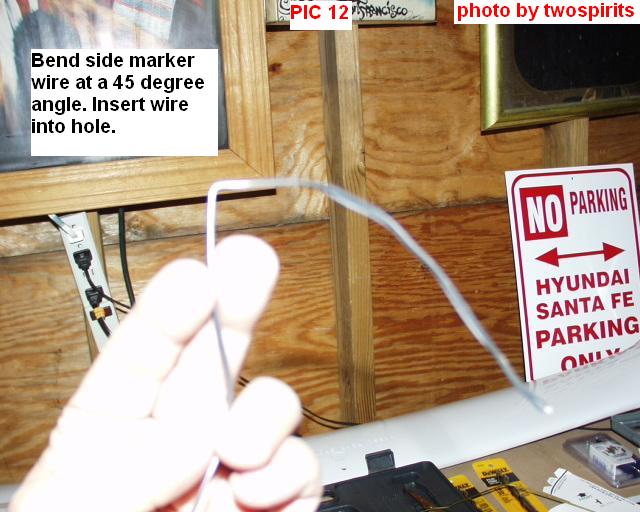
Take the end of the side
marker wire and about 4-5 inches from the end, and bend the wire at a 45
degree angle. (SEE PIC # 12.) Insert the wire into the hole you did above and fish it
to the gap opening in the wheel well. (Use your finger to fish it out.)
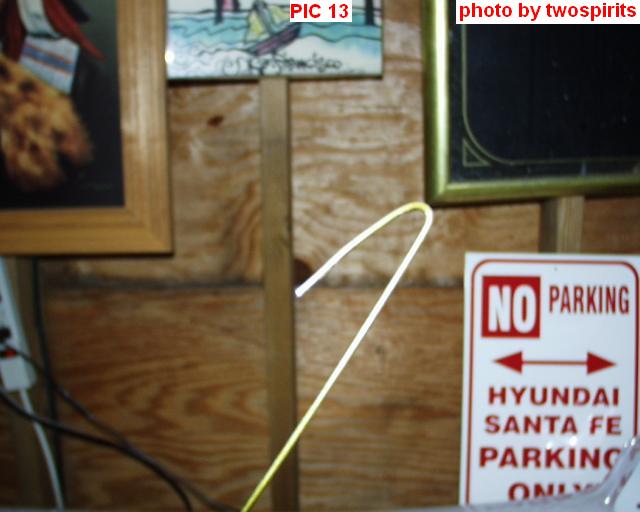
Next get a wire hanger,
cut off the end that curves and bend one end of the wire about 1 inch
inwards. (SEE PIC # 13.)
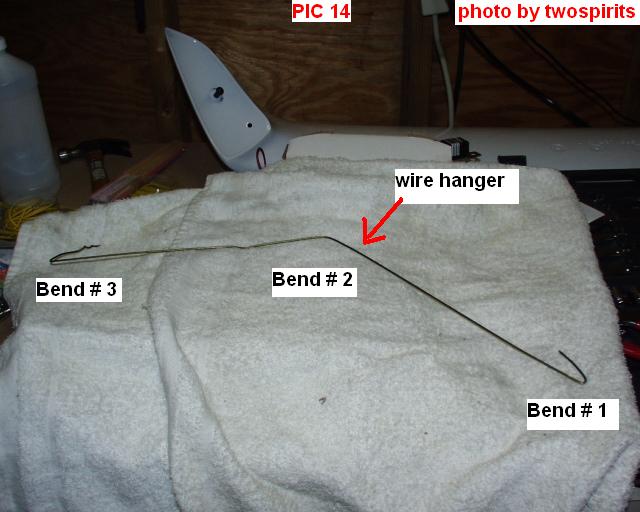
About 9 inches from that
end, bend it at a 90 degree then about another 8-9 inches bend it a final
time to form a small handle. (SEE PIC # 14.)
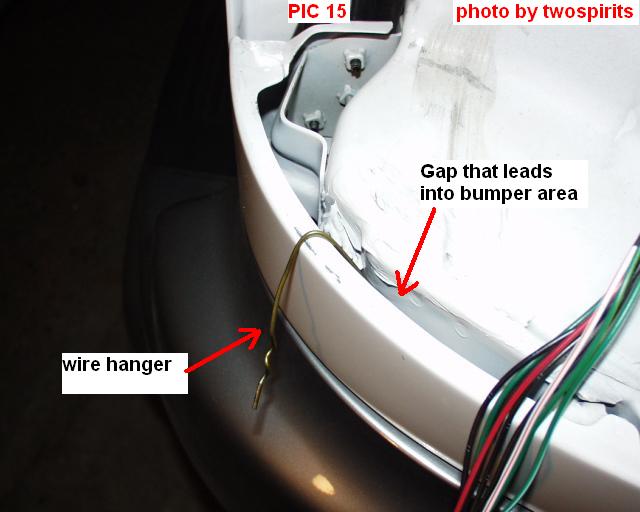
Insert this wire hanger
into the gap underneath the rear light housing
(SEE PIC # 15)
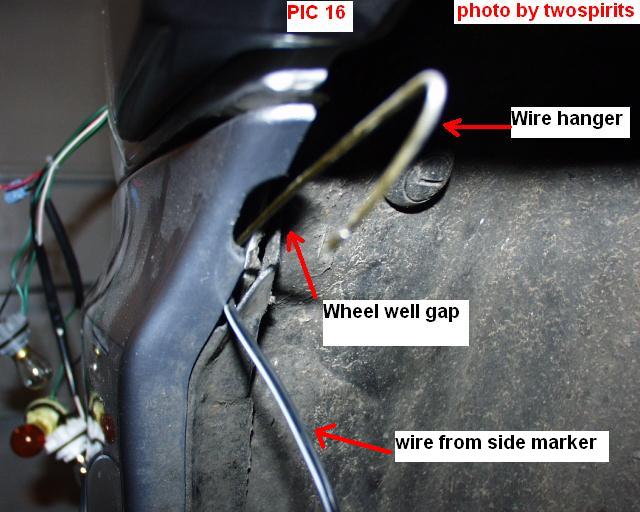
and run it inside till it
comes out the other gap that is in the wheel well.
(SEE PIC # 16)
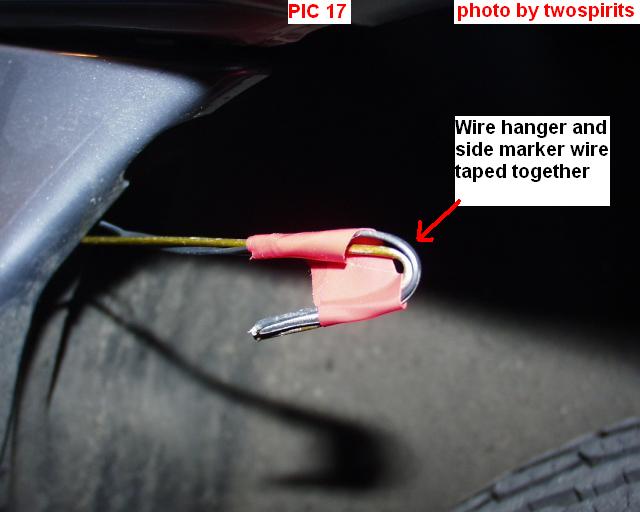
Tape the side marker wire
to the wire hanger with electrical tape.
(SEE PIC # 17)
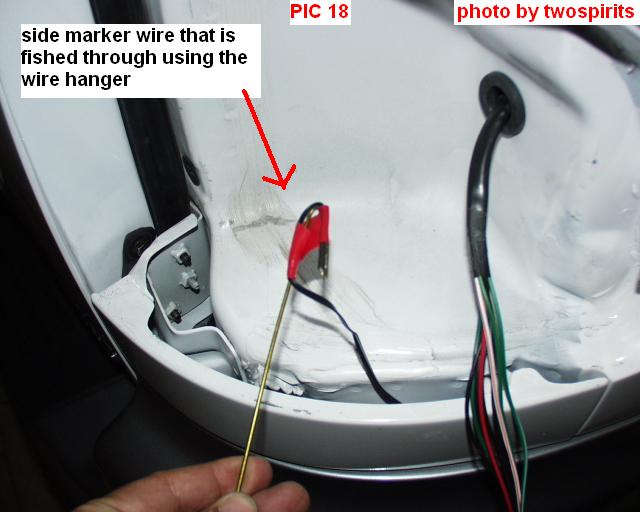
Fish the wire through the
gaps so that it comes out the rear.
(SEE PIC # 18)
Pull the wire gently so
that the side marker comes close to the bumper. Take off the 3M tape cover
and attach it to the bumper.
(SEE PIC # 19)
Step 2:(Wiring
the aftermarket marker)
Before we proceed any
further, I would disconnect the negative battery cable if you haven't done
so already.
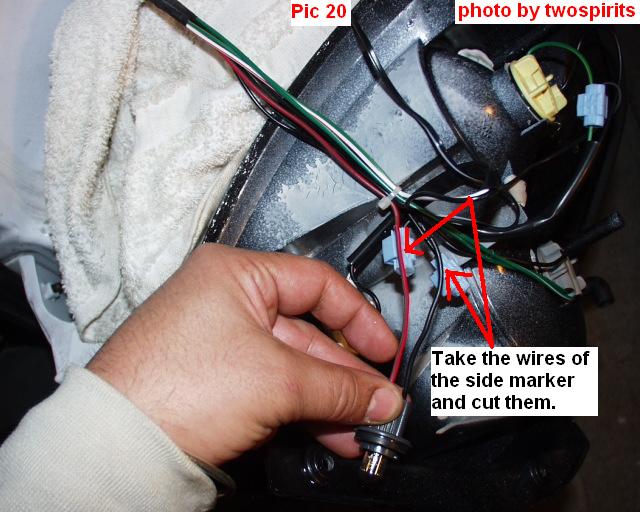
Cut the wires of the small side marker light (the black wire and the red
with gray stripe wire).
(SEE PIC # 20)
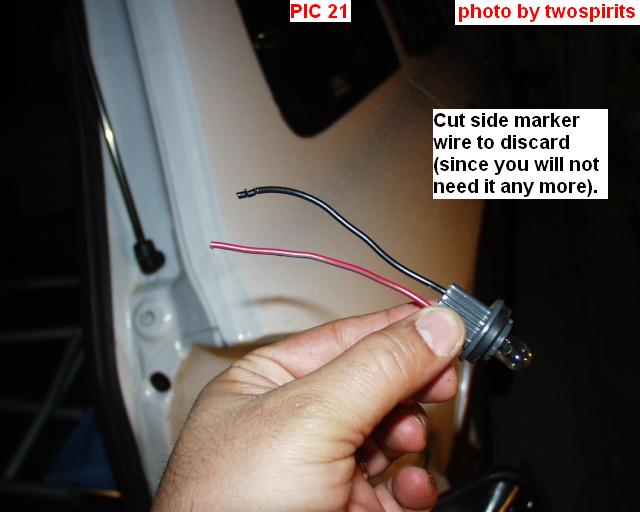
After you cut the wires,
you can do whatever you want with it, since it is no longer needed.
(SEE PIC # 21)
Terminate the cut black
wire with either electrical tape, soldering it or with a butt connector.
(SEE PIC # 22)
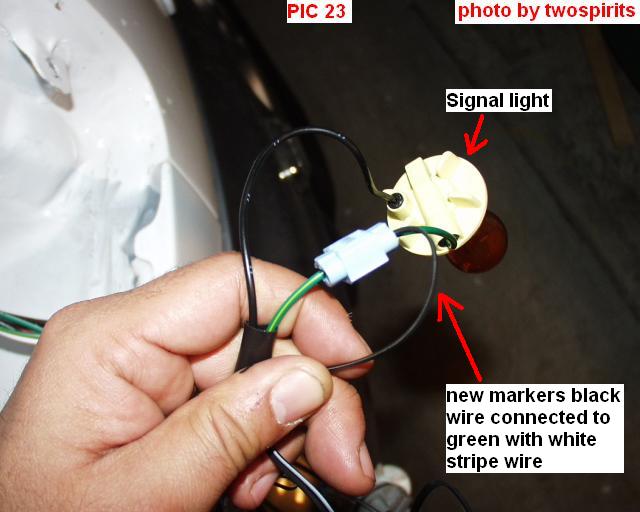
The new side marker I
bought has two wires only, a black one and a black one with white stripe.
You will connect the new side markers' black wire to the turn lights' green
with white stripe wire.
(SEE PIC # 23)
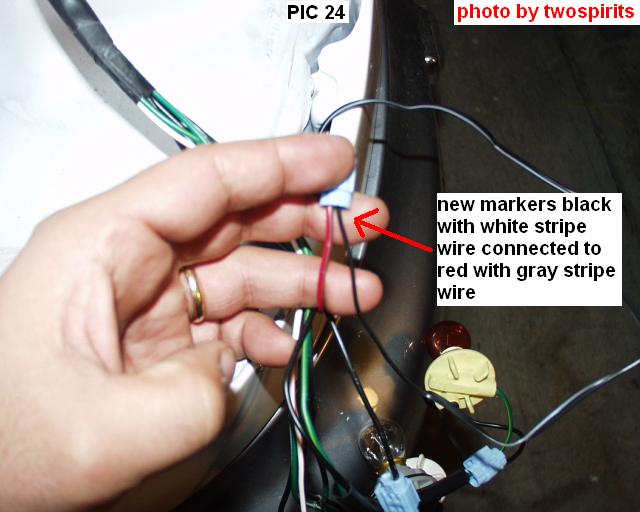
You will now connect the
new side markers' black with white stripe wire to the red with gray stripe
wire. (The one take you cut back in beginning of step two -pic 20-21).
(SEE PIC # 24)
Proceed to steps 3-5
below.
Step 3: Test the lights.
Reconnect the negative battery cable and insert your ignition key and test
the lights.
They should at this point work and perform the following functions.
1-
Should come on when you turn on your
lights.
2-
Should flash as directional signals with parking lamps are on
or off.
(They will work in different / alternating flashes. ex: When
the parking light goes on the marker goes off and vice versa.)
3-
Stay on when using the hazards.
Step 4: Perform the steps on the other side.
Perform
steps the same steps on the other side of the vehicle and retest them.
Step 5: Reinstall all the lamps.
Reattach
all lamps back into their housings and enjoy your new
rear signal marker lights.
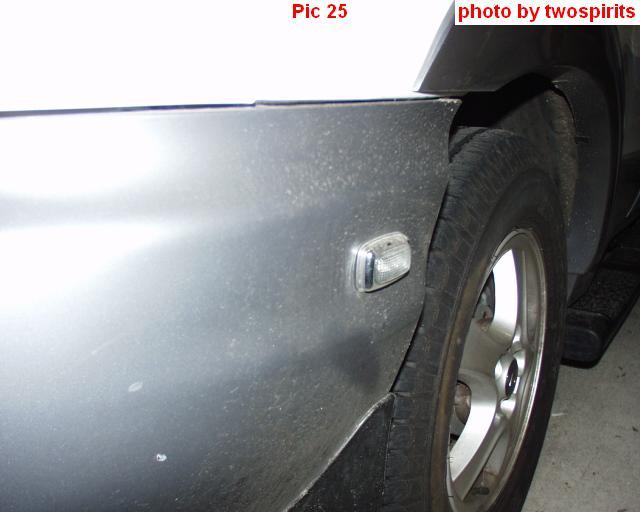
Final views.
Final view (vehicle not
turned on)
(SEE PIC # 25)
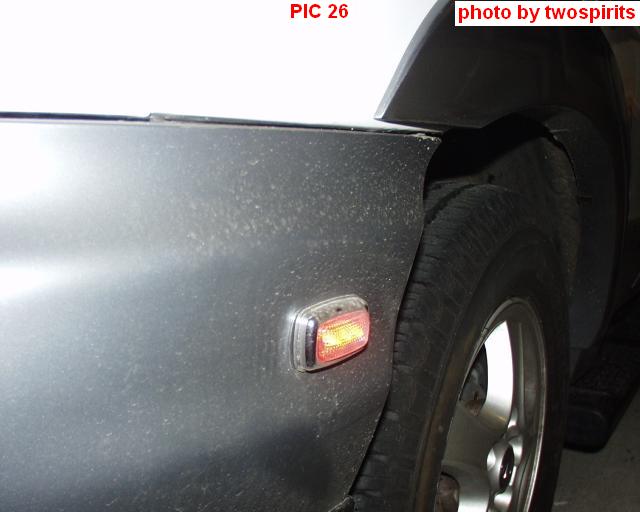
Final view (vehicle turned
on, using camera flash)
(SEE PIC # 26)
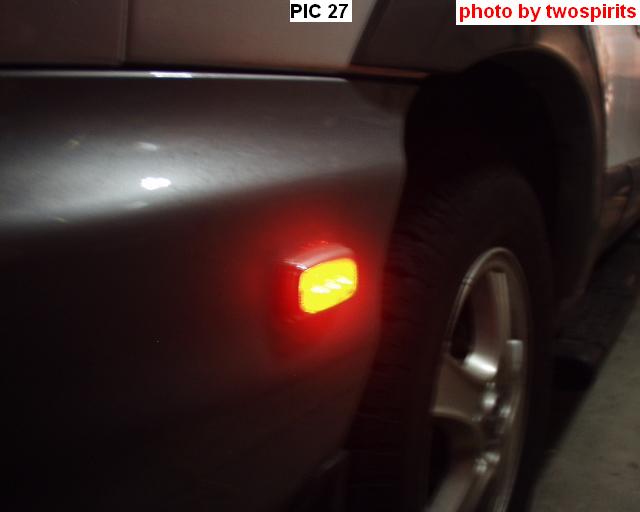
Final view (vehicle turned
on, no camera flash)
(SEE PIC # 27)
This site was last updated
06/10/05 You are the
visitor to this page