The Hyundai Santa Fe Rear Hatch Strap Modification
| Original idea: | twospirits |
| Idea enhancements: | |
| Modification testers: | twospirits |
| Author of procedures: | twospirits |
| Images provided by: | twospirits |
Introduction / History
| The rear hatch of the Hyundai Santa Fe provides a indentation that allows the hatch to be lowered from its opened position. This indented grabber while useful it at times out of reach for those owners that find it quite a reach to grab on to. Therefore this modification address that slight oversight. Once this modification is completed the person trying to lower the rear hatch will find it much easier to do so. |
|
Disclaimer
| Please Read the disclaimer before proceeding |
Difficulty level / scale: On a scale of 1 - 10
| Easy | Difficult |
| 1 | 2 | 3 | 4 | 5 | 6 | 7 | 8 | 9 | 10 |
| X |
Tools and materials needed:
| 1 leather belt or belt like strap |
| 1 scissor |
| 2 machine type screws (Flat head or Philips) |
| 1 exacto knife or dremel tool |
| 1 pen/marker/pencil |
Time to perform modification:
| Total time for mod: | 30 minutes |
Step 1: Cut and prepare the strap.
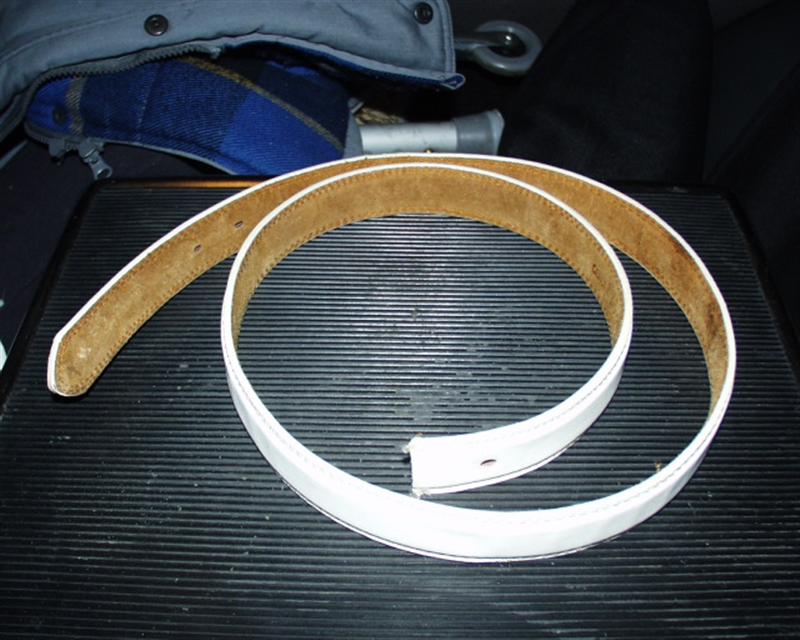 |
Take any old (or if you prefer almost new) leather belt or strap and make a small hole at one of the ends. Note: I used a dremel tool to drill a round hole through the leather belt. You may want to either use a hole puncher (depending how thick the belt/strap is) or use an exacto knife to cut a cross slit near the end of the belt/strap.
|
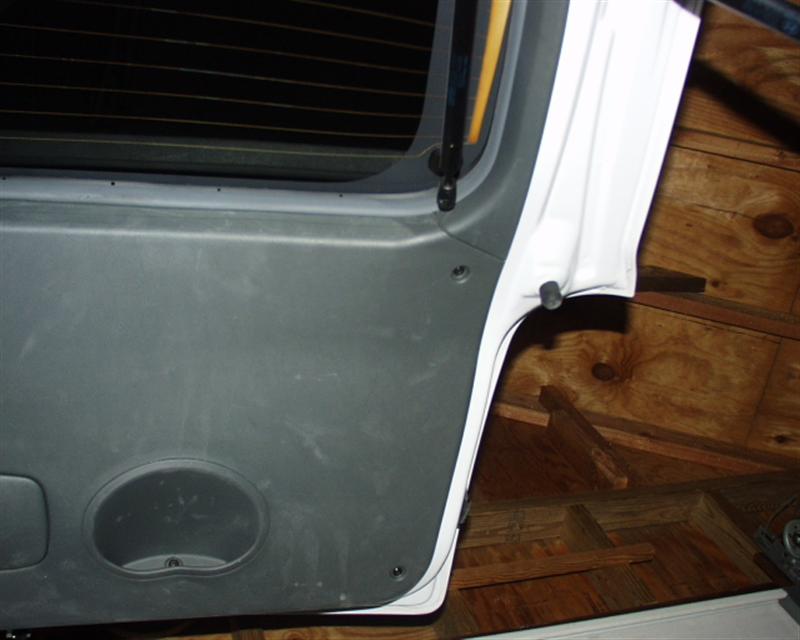
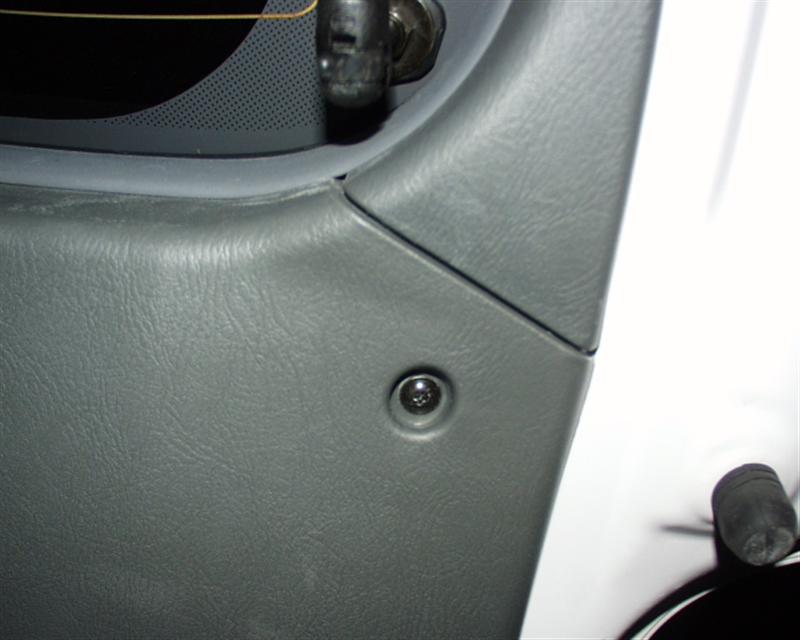
Step 2: Take out existing hatch screws.
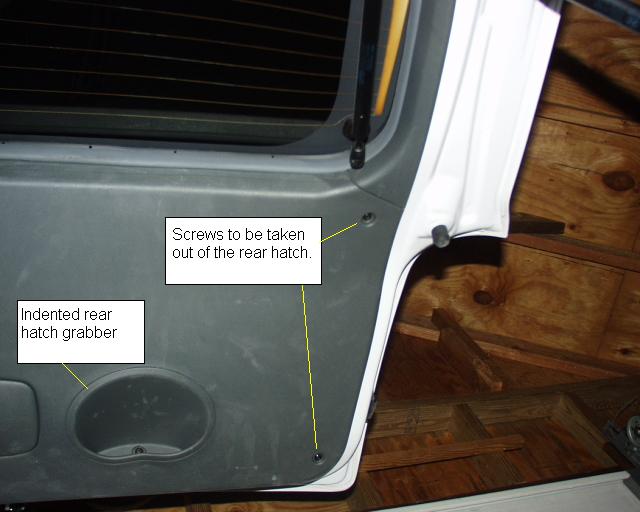 |
Open the rear hatch and unscrew the two right side screws. Note: I did the mod on the right side of the hatch, but you can also do it on the left side if you prefer.
|
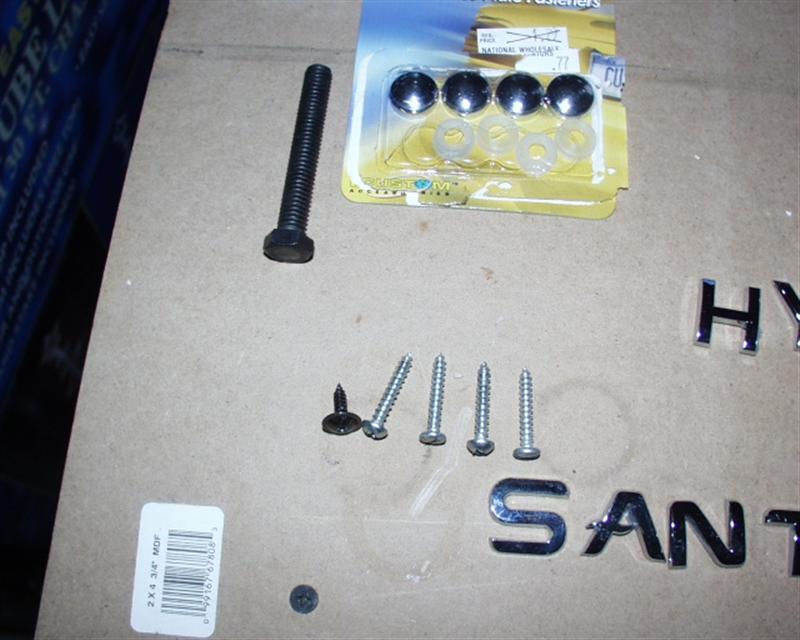 |
This photo gives you an
indication of the type of machine screws you will need. The screws will have
to be about 3/8 – 1 inch in length. (The original hatch screw is at the far
left for size comparisons.
|
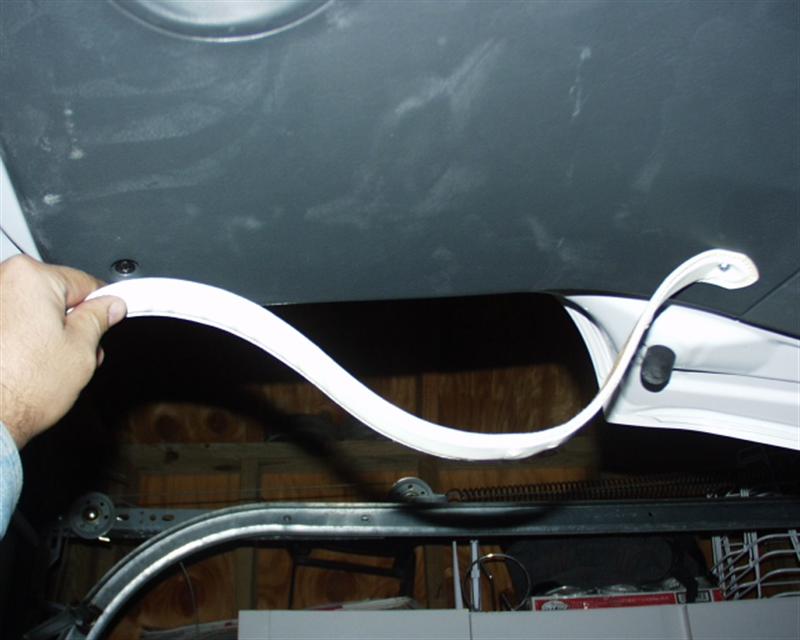
Step 3: Installing belt / strap onto hatch.
 |
Insert one of the screws through
the hole you made (back in step 1) and attaché it to the top most hole and
screw it in. Do not tighten the screw since this will only be temporary for
now.
|
 |
Take the belt / strap and place
it or measure to where you feel is a comfortable size loop. Mark the
approximate place with a pen, pencil or marker where the hole /screw would
be attached. At this point you can either make another hole where you marked (if you are using a dremel tool or unscrew the strap from the hatch and do the cutting/drilling somewhere else.) After you created the hole, cut the remaining strap so only about an inch or half an inch is beyond the hole you made on the strap. Attached the strap to the hatch and tighten the screws. |
Enjoy your new hatch belt / strap
 |
You now have a strap to grab from
to lower the hatch without stretching.
|
This site was last updated 06/10/05