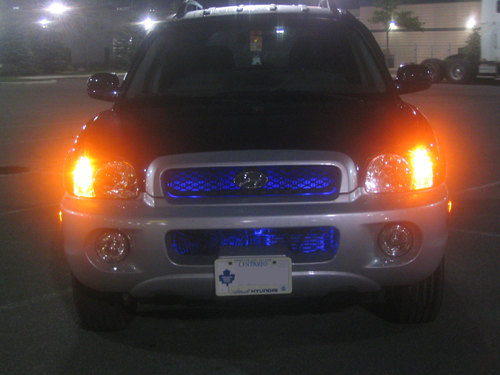
Adding lighting effects is one of the most popular modifications an owner can perform on their vehicle. This modification shows how to add a lighting effect behind the grille.
The Hyundai Santa Fe Grille Lights Modification
| Original idea: | Spawn |
| Author of procedures: | Spawn |
| Enhancements: | |
| Installer / Testers: | Spawn |
| Parts Supplier: | |
| Images provided by: | Spawn |
Introduction / History
|
Adding lighting effects is one of the most popular modifications an owner can perform on their vehicle. This modification shows how to add a lighting effect behind the grille. |
|
Disclaimer
|
Difficulty level / scale: On a scale of 1 - 10
| Easy | Difficult |
| 1 | 2 | 3 | 4 | 5 | 6 | 7 | 8 | 9 | 10 |
| X |
Tools and materials needed:
| 2 LED light bars of your colour choice |
| 8 other LED's and resistors of the same colour (i bought the pre-wired Varad led's) |
| wire, automotive speaker wire works fine |
| some split loom to dress up the wires |
| cable ties |
| Solder |
Step 1: Prepare the Lights.
(Click on images to open up in
full size) |
First thing you need to do is prepare your lights. take whatever housing is on your light bars away so that you are left with just the wires and circuit board. Shave down the heads of your LED's so they are flat, this will act as a diffuser and provide a much brighter area and better coverage |
(Click on images to open up in
full size) |
View of the bulb after its shaved down. |
(Click on images to open up in
full size)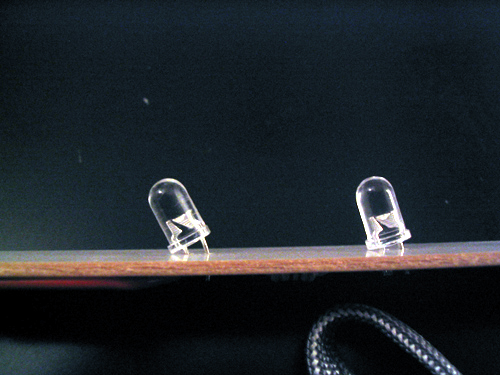 |
I also re-aimed the LED's to the side to distribute the light. |
(Click on images to open up in
full size)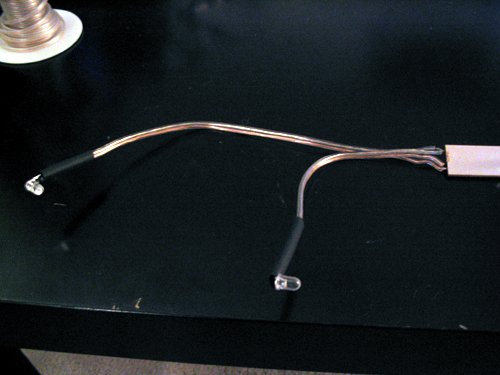 |
Now take your multimeter and figure out which leads on the circuit board are the positive and negative ones. Attach the corresponding leads of your Varad LED's to those on both sides. |
(Click on images to open up in
full size)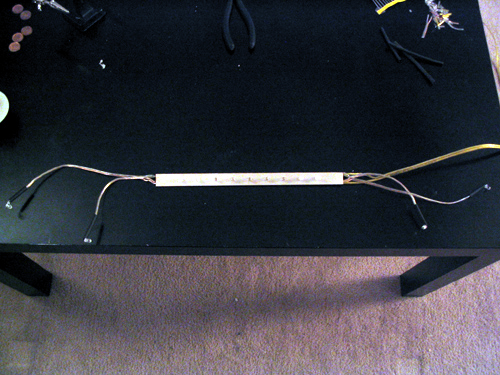 |
You can seal the boards any way you want, I used silicone sealant and electrical tape. |
Step 2: Remove your
headlamps and bumper.
(only if you want to add a set of LEDs to the lower bumper)
(Click on images to open up in
full size)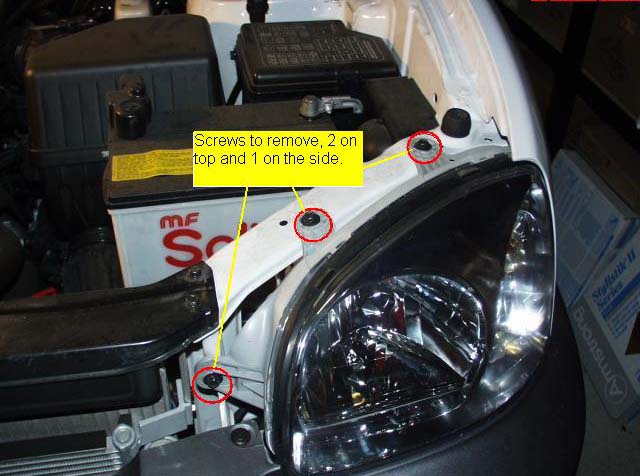 |
Removing
the Headlamps |
(Click on images to open up in
full size)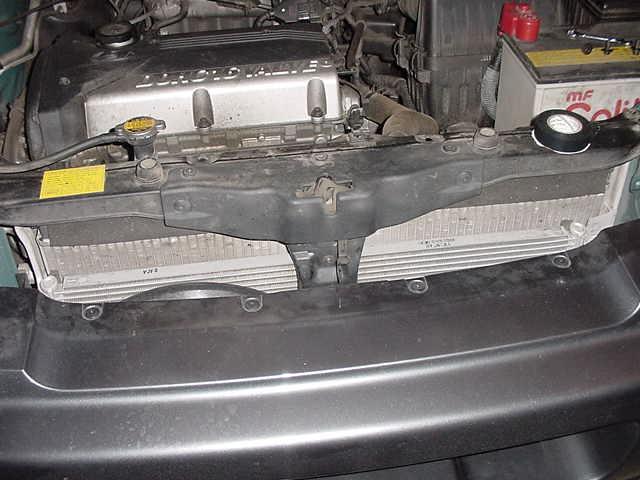 |
Removing the bumper |
Step 3: Preparing the upper grille.
(Click on images to open up in
full size)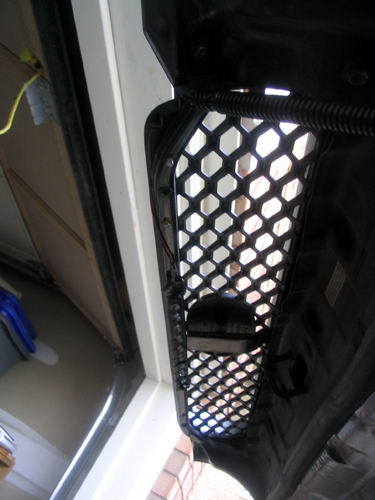 |
The set in the hood is pretty straight forward, you remove the black support from behind the plastic grille. Then drilled 2 holes evenly spaced in each end of the bar and then attached the 4 Varads there, then cable tied the circuit board to the outside of the support, facing inwards towards the radiator. You may elect to use cable ties instead of drilling, but they might shift over time. |
(Click on images to open up in
full size)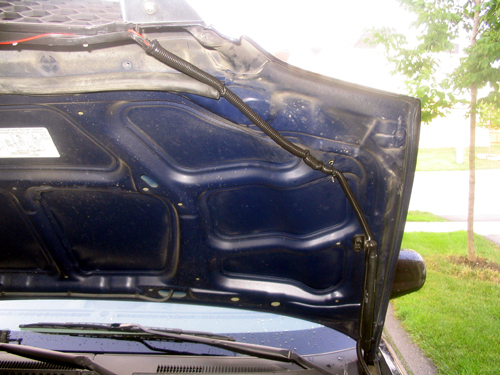 |
Run the wires up the inside of the hood, down the support arm, and in through the hole in the firewall. (See steps 4 below). Covered the wires (if you desire) with some black split loom for cosmetics. Note: You may elect to drill a hole through the firewall, if so this write up might help you. |
|
|
|
|
|
|
|
|
|
|
|
Step 4: Getting through the firewall.
(Click on images to open up in
full size)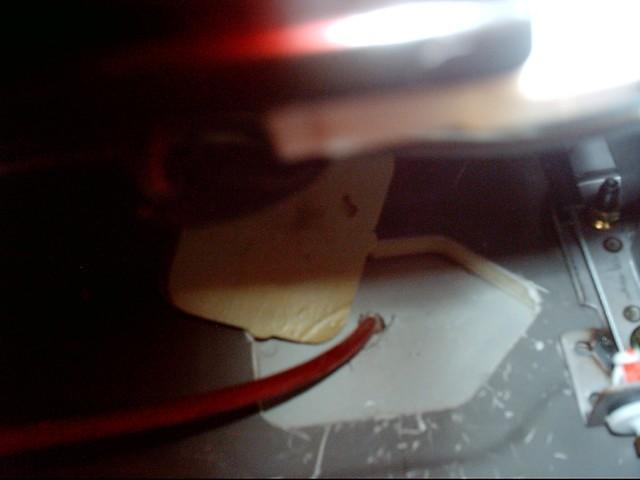 |
You may elect to drill a hole through the firewall, if so this write up might help you. It shows you numerous ways of getting through. |
| ( |
|
|
|
|
|
|
Step 5: Preparing the lower grille.
(Click on images to open up in
full size) |
Now for the more intensive
set, the lower grill. Just in front of the radiator fan is the best place to
mount them that I found, they will sit just under the lip of the bumper
molding. |
(Click on images to open up in
full size) |
You can drill through the welded joint of the strut to attach the bar and separate lights, like so. |
(Click on images to open up in
full size) |
Once the lights are mounted, You can use more cable ties to secure the led bars. Run the wire up the inside of the cavity where your headlights and horn are, around the battery and air intake, back to the hole in the firewall. Complete the connection to whatever 12V source you plan on using. You can connected them to the wire on the lower console that is in the center of the AC control module. Installed the kill switch in the storage area under the stereo. Once you have everything wired up, test them before you put everything back together to make sure that all is well. |
|
|
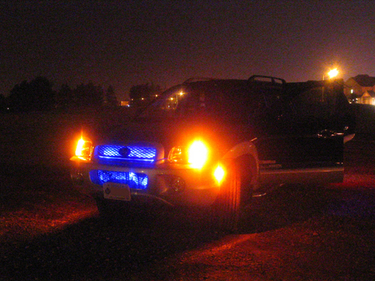
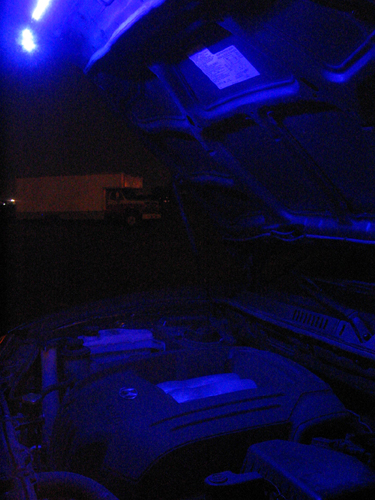
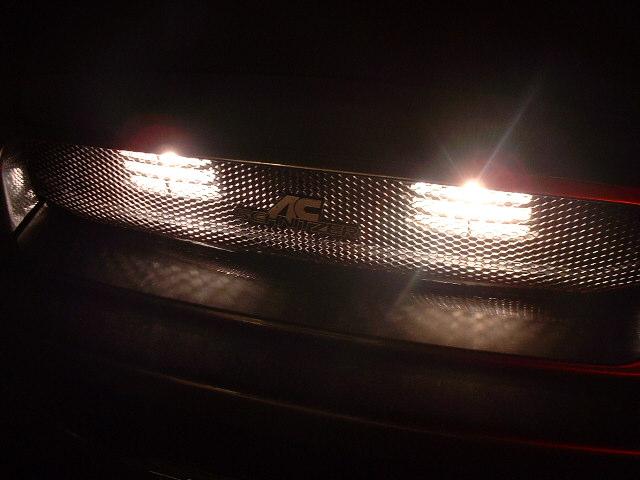
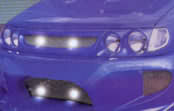
Final Views: (Click on image to open up in full size)
| 1 | 2 | 3 | 4 | |||
 |
|
 |
 |
Views of other grille lights: (Click on image to open up in full size)
| Club Luanti | Lightwave | 3 | 4 | |||
 |
 |
This site was last updated 02/08/06