|
|
|
Unscrew the Euro light peg bracket. You will
need to cut off the tip of the peg to get to the thick part.
Put the bracket in a vise and center punch the tip. This will allow you to
place a # 29 drill bit on it without slipping.
Drill the hole with a very carefully
and straight, about a quarter of an inch. (The
# 29 drill bit is the perfect size for the 8/32 rod, otherwise the pegs wall
would be too thin and may pull out if you tighten the nut too much.)
Do not drill all the way through. This will
weaken the bracket.
Tap the 8/32 hole, and screw the threaded rod in. Note: The one thing I did
not do was measure the length of the rods. The threaded rods that I used
come in 12” lengths. You will be using two of them, one for each bracket. |
| |
|
|
 |
|
Insert
the bracket with the rod through the peg hole so you can determine the point
where the rod is to enter the vehicles’ frame. Mark the spot with a
pen/pencil or grease pencil. Remove the rod/bracket and drill at the marked
spot.
Drill with a 12” long bit so that you go
through everything. The resulting clearance hole should be large enough for
an 8/32 screw. |
| |
|
|
 |
|
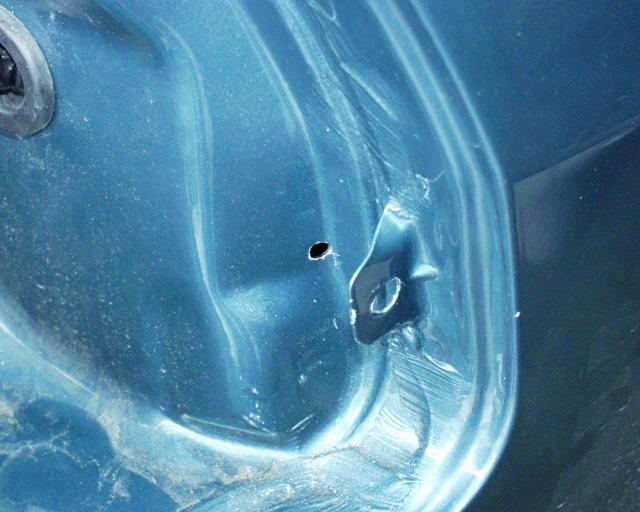
Pull the quarter panel back. You’ll be able
to get your finger in one of the large holes to feel for cables, so you can
drill the second hole without damaging any wires. |
| |
|
|
 |
|
Screw
the bracket (with the rod) back onto the Euro light lamp housing. |
| |
|
|
 |
|
Reattached the Euro Light and attach the 8/32
nut to the rod. Screw the nut until you have the Euro light as flush as you
want.
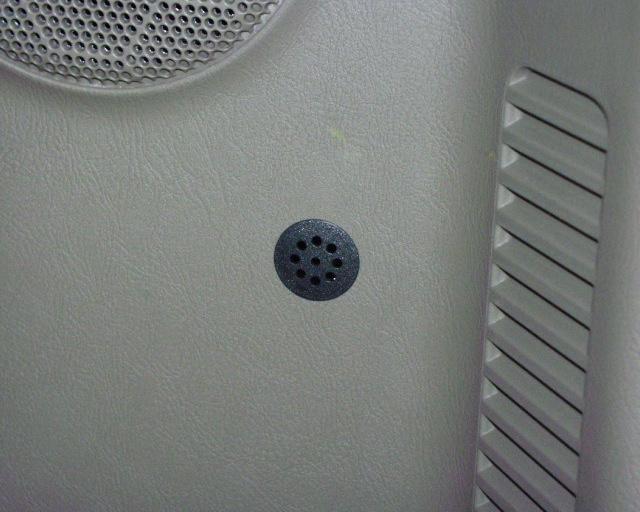
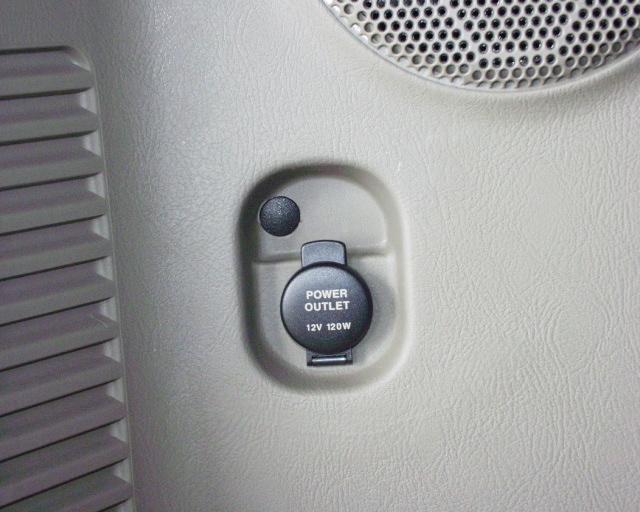
Reattach the quarter trim
and place a plug on the hole.
The plugs are so you can access the nuts.
This pic shows the right side plug. |
| |
|
|
 |
|
This
shows the left side plug. |
| |
|
|
 |
|
The
original gaskets should work if they are trimmed a little. I ordered
weather-stripping from JC Whitney, which is slightly thinner than the ones
on the lights. I tried all local possibilities first, but most stripping
in home improvement places is the ugly foam, which shows a little.
Whitney's is the real close cellular type. Looks good. It can be ordered
directly at www.jcwhitney.com
Item 12ZX7116T
- Stick-On Weather Strip, 5/16" thick x 3/8" width
Quantity of
1 @ 5.49 Roll |
| |
|
|
| |
|
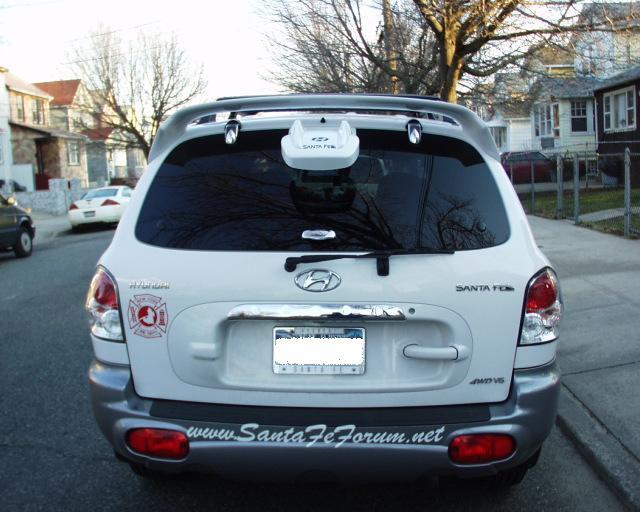
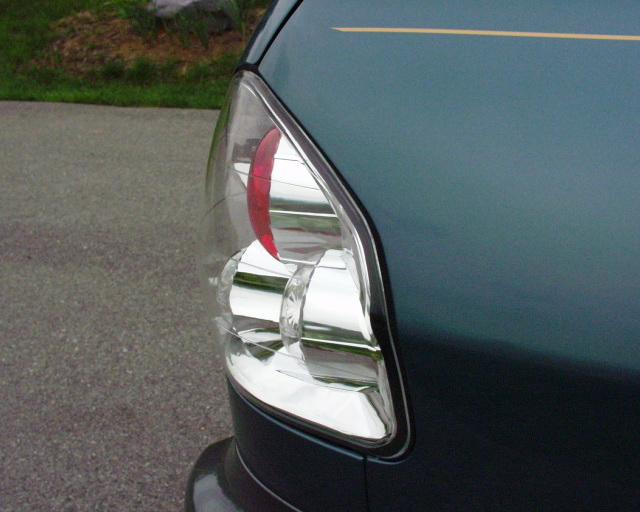
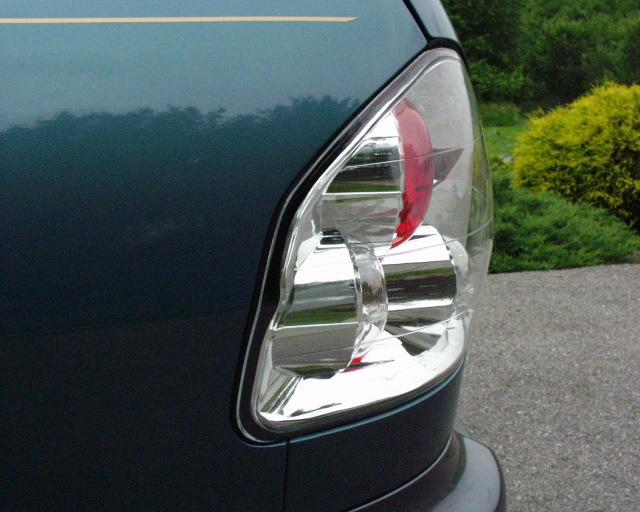
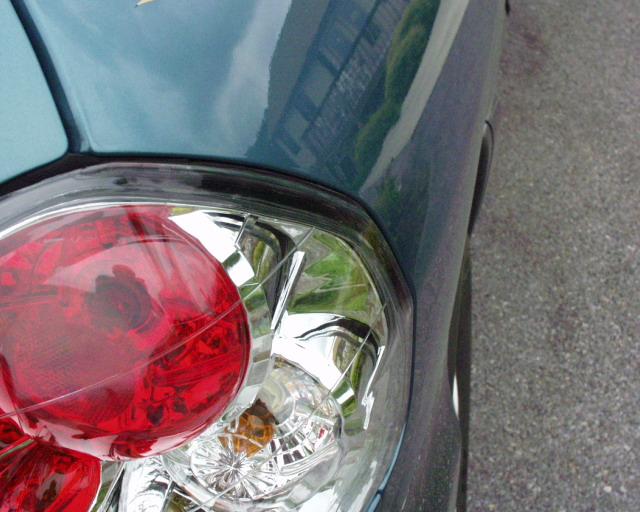
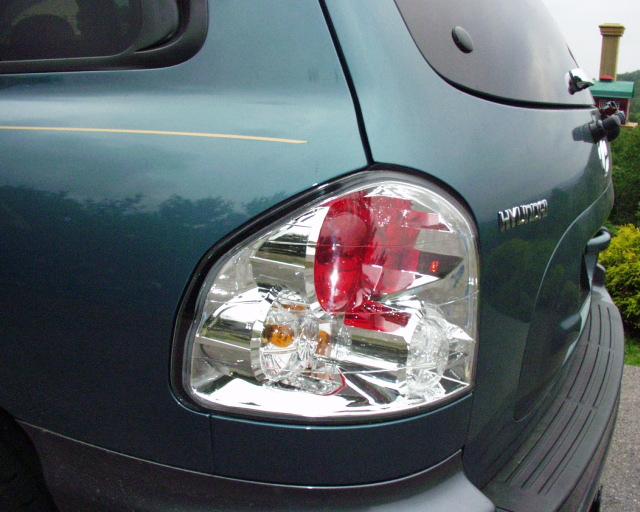
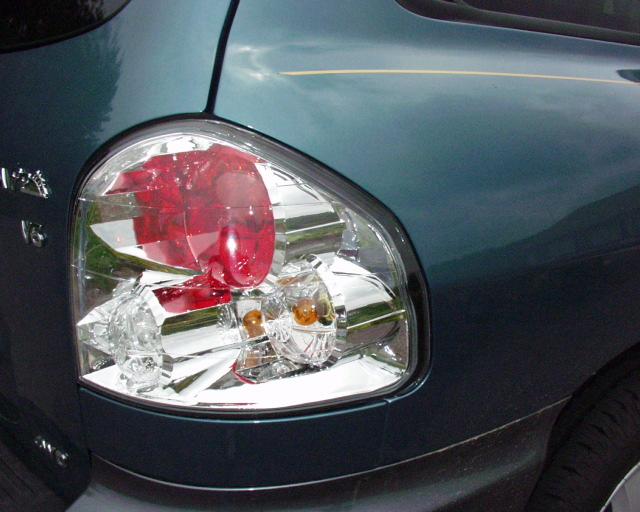
The
following pics show the finished results. The Euro lights are now flush to
the rest of the body. |