This modification shows you how to obtain the parts and install it.
The Hyundai Santa Fe Door Panel Safety Light Modification
| Original idea: | santamen |
| Author of procedures: | santamen |
| Installer / Testers: | santamen |
| Parts Supplier: | HMC |
| Images provided by: | santamen |
Introduction / History
| On Canadian models, the Santa Fe
does not have the door panel safety light. The inclusion of a light helps
riders be seen at night when entering and exiting the vehicle. This has been
overlooked in Canada and other areas. Its really is an important safety
feature. This modification shows you how to obtain the parts and install it. |
|
Disclaimer
|
Difficulty level / scale: On a scale of 1 - 10
| Easy | Difficult |
| 1 | 2 | 3 | 4 | 5 | 6 | 7 | 8 | 9 | 10 |
| X |
Tools and materials needed:
| 2 lamp bulb assemblies' (part # 92631-26000) |
| 1 reflector lens cover (left side Part # 926332-26000) |
| 1 reflector lens cover (right side Part # 92642-26000) |
| Door Trim Removal tool (available at any auto parts store) or |
| Optional: |
| Flat head screwdriver (in place of trim panel remover tool) |
| Cloth |
Step 1:Obtaining the parts.
(Click on images to open up in
full size)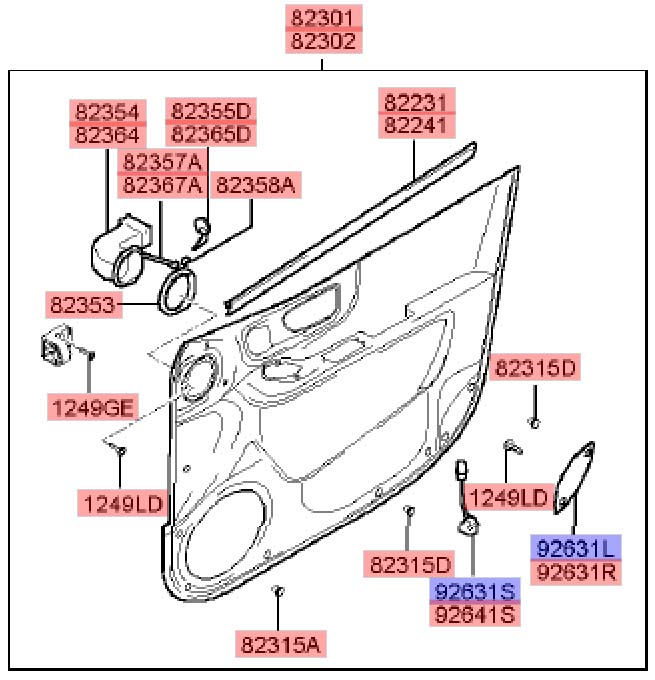 |
The bulb assembly and lens covers can be
obtained from any Hyundai Parts center in the USA. If you live in Canada or
in a country other than the USA and you cannot obtain the necessary parts
from your dealership, then your only option is to contact a dealership in
the USA that will ship to your area. |
Step 2: Removing existing door panel.
(Click on image to open up in full size)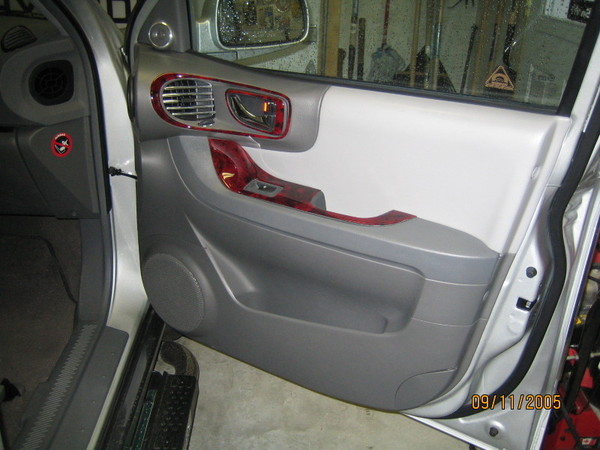 |
The doors already have the electrical connector within them, the only thing missing is the bulb assembly cable which needs to be installed. For this you will need to remove the door panel off the door. |
(Click on image to open up in full size) |
Remove the screw (1) holding the inside door handle trim. |
(Click on image to open up in full size) |
Remove the screws (3) holding the door panel trim. |
(Click on image to open up in full size)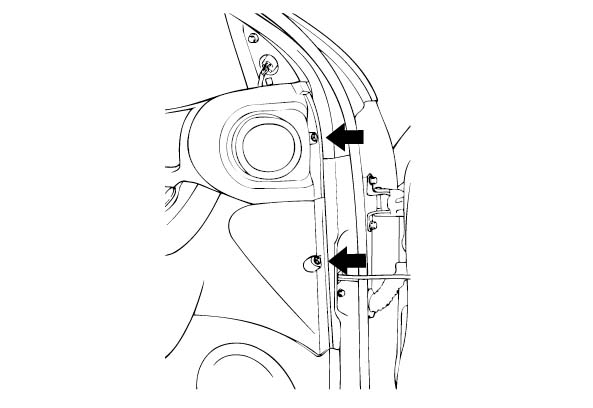 |
Remove the remaining screws (2) on the inner most side of the panel trim. |
(Click on image to open up in full size)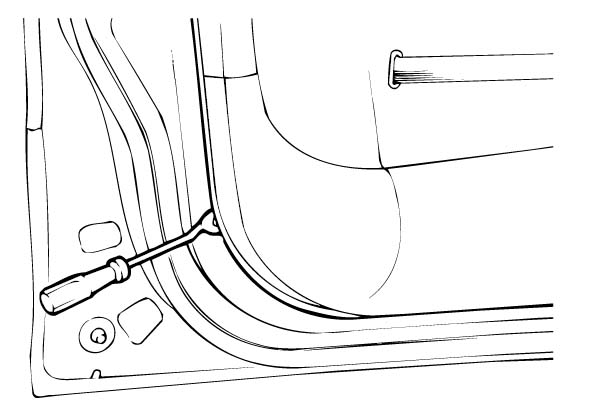 |
Insert a trim panel remover tool (if you
have one, if not then use a flat head screwdriver wrapped in a cloth to
prevent scratches) between the trim fasteners and the door trim to pry off. |
Step 2: Installation.
(Click on image to open up in full size)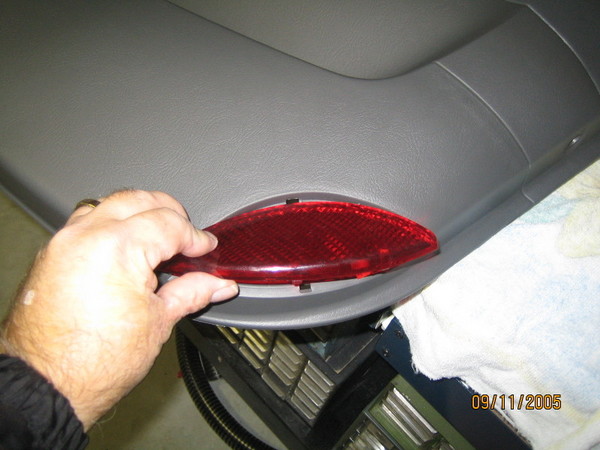 |
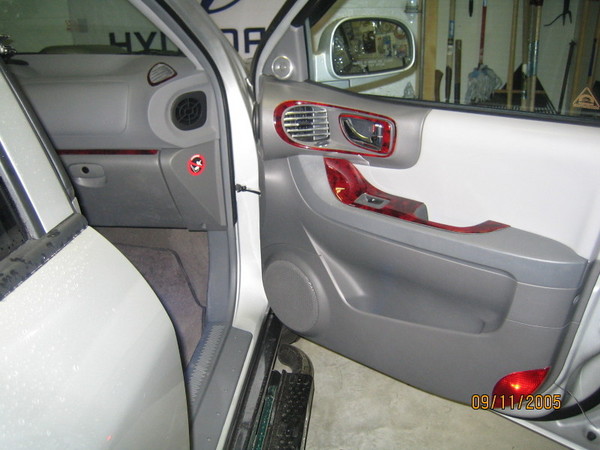
Take off the existing dummy door light cover off and add the new lens cover. |
(Click on image to open up in full size)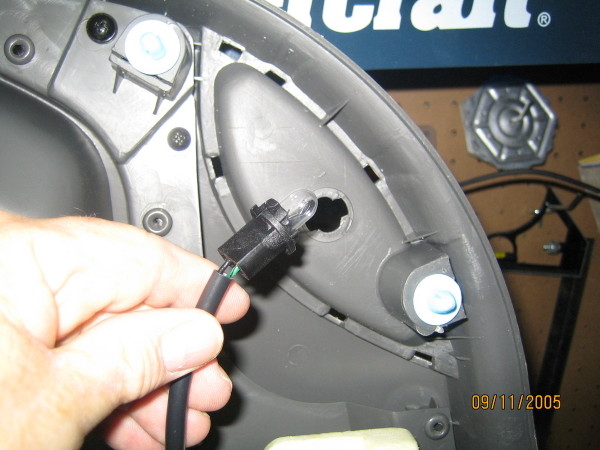 |
With the door panel off, attach the lamp bulb assembly and connect it to the existing connector on the door. Reinstall the panel back on to the door, and repeat procedure for the other side. |
Final Views: (Click on image to open up in full size)
|
|
This site was last updated 02/08/06