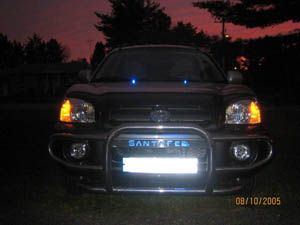
For those that acquired the Factory front brush guard part number 0830-26100 you can add a nice led effect to the Santa Fe lettering. This highlights it while driving.
Hyundai Santa Fe Brush Guard LED Modification
| Installer: | Santamen |
| Testers: | Santamen |
| Part supplier: | Hyundai Mobis |
| Author, Images: | Santamen |
Introduction / History
|
For those that acquired the Factory front brush guard part number 0830-26100 you can add a nice led effect to the Santa Fe lettering. This highlights it while driving. |
|
Disclaimer
| Please Read the disclaimer before proceeding |
Difficulty level / scale: On a scale of 1 - 10
| Easy | Modification Version 1 | Difficult |
| 1 | 2 | 3 | 4 | 5 | 6 | 7 | 8 | 9 | 10 |
| X |
Tools and materials needed:
| 01) | Overhead neon light cover cut to size |
| 02) | 3M double sided tape |
| 03) | 12inch long Blue LED light bar or bulbs (color does not have to be blue) |
| 05) | Glue for plastic/metal surfaces. |
| 04) | Possible switch to control the LED. |
Time to perform modification:
| Total time for modification: | 30 minutes |
The Plastic Strip.
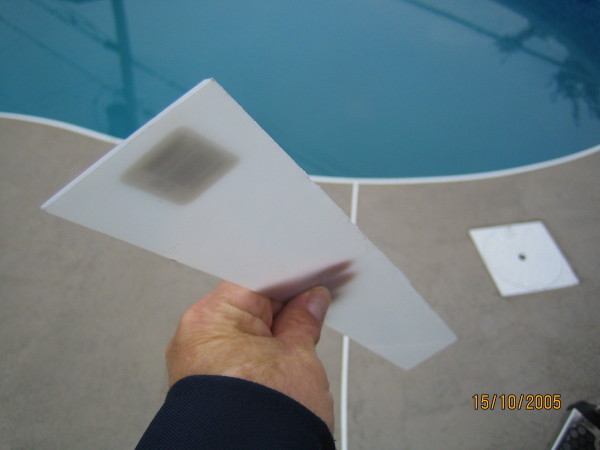 |
Acquired from
any Home improvement store a strip of plastic like Lexon and cut it to the
appropriate length.
Note: the plastic strip can be either Lexon or what they use to cover neon light fixtures on ceilings. |
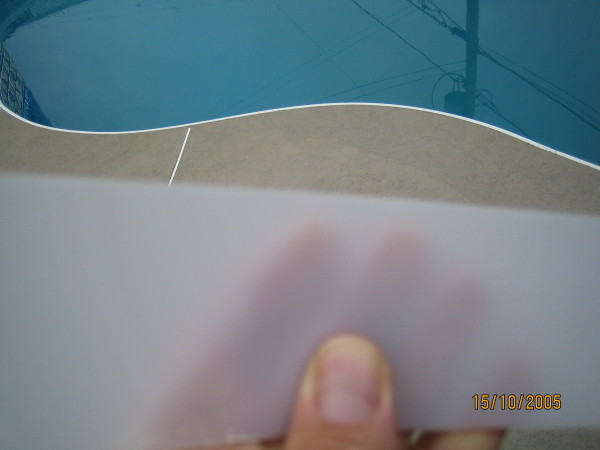 |
This view shows you the plastic strip and how thin it is and transparent. (You can see the installers fingers through it). |
Step 1 - Attaching the strip.
 |
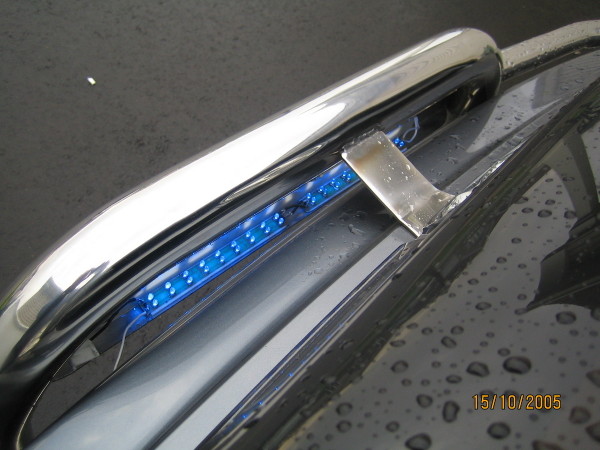
Attach the plastic strip to the backside of the upper bar where the Santa Fe logo is with heavy duty glue (that's made for plastic and metal. Position the strip so that it covers the logo as shown in the picture. |
Step 2 - Attached the LED bar.
 |
Attach the LED blue (or whatever color you choose) bar/bulbs to the plastic strip using 3M double sided tape. |
Step 3 - Connecting the LED to a power source.
|
Image Missing |
You will
connect the LED bar according to its instructions. Most likely it would have
two wires. One black for ground and the other to connect to the power
source. In this case it should be connected to the Parking light. This
allows the LED bar to only come on when you have your lights on.
Note: you may want to connect a switch to control if you only want the LED to come on at certain times and not all the time when you use your lights. |
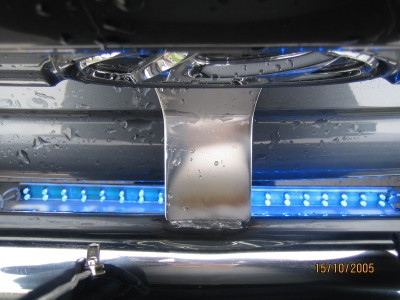
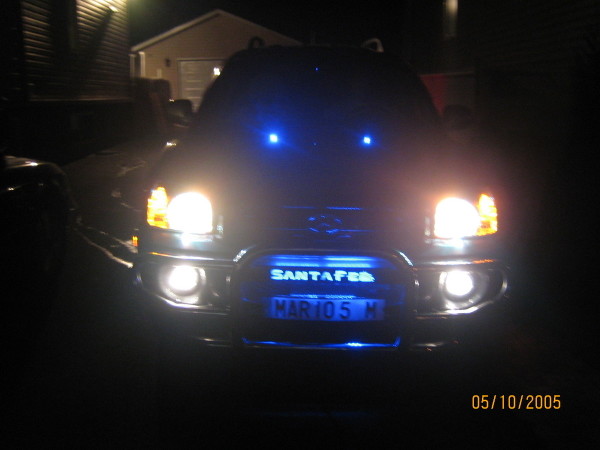
Step 4 - Final views.
 |
The following two images show what it looks like attached. This one from behind the brush guard. |
 |
The following two images show what it looks like attached. This one from behind the brush guard. |
 |
One final view | |
Enjoy your new brush guard LED bar.
Special thanks for Santa Fe Forum member Santamen for the above images and modification.
This site was last updated 02/08/06