
The Hyundai Santa Alarm Led Modification
| Original idea: | cornelius18 |
| Author of procedures: | cornelius18, twospirits |
| Installer / Testers: | cornelius18, Retired in Bama, twospirits |
| Parts Supplier: | Radio Shack |
| Images provided by: | cornelius18, twospirits |
Introduction / History
| Some vehicle manufacturers provide a visible alarm LED, to indicate the vehicle is armed with a security system and is functioning. This modification allows the owner to add one to the Santa Fe. |
Click on image to open up in full size) |
Disclaimer
|
Difficulty level / scale: On a scale of 1 - 10
| Easy | Difficult |
| 1 | 2 | 3 | 4 | 5 | 6 | 7 | 8 | 9 | 10 |
| X |
Tools and materials needed:
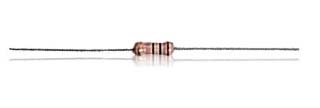
| Blinking LED, (Radio Shack #276-308 or 306 similar) |
| 1.5K resistor, (Radio Shack #271-1120) |
| Wire tap-ins, (Radio Shack
#64-3052) (The wire tap-ins are the same ones used for the bumper tail light modification, so you may have these already.) |
| Solder |
| Soldering Iron (not a soldering gun, which will damage the LED) |
| Philips # 2 screwdriver |
| Voltmeter |
| Wire Cutters |
| Pliers |
| Small knife |
| Electrical Tape |
| Hook-up Wire |
| Optional: |
| Super Glue |
Step 1: Installation.
 |
The blinking LED has two leads off it. The longer one is positive, the shorter is negative. |
 |
Solder one 1.5K resistor to the positive lead of the LED. Solder a two foot length of hook-up wire to the other end of the resistor. Solder another two foot length of hook-up wire to the negative lead of the LED. Wrap each lead individually with electrical tape from the base of the LED to the wire insulation so there is no exposed bare metal to cause a short circuit. |
Step 2: Remove the Center Facia panel.
(Click on image to open up in full size)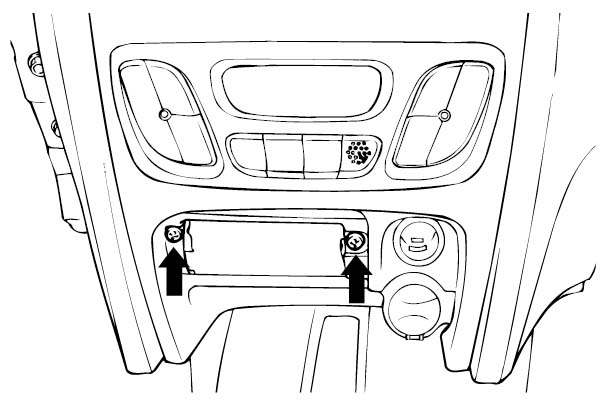 |
You need to disassemble the
center dash area (Center Facia). |
(Click on image to open up in full size)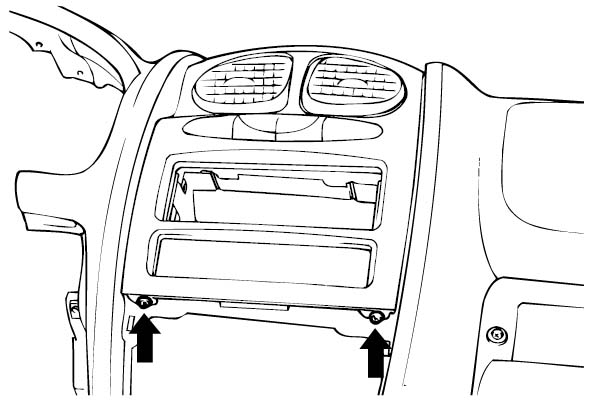 |
|
Step 3: Placement of the LED.
(Click on image to open up in full size) |
At this point you need to
determine where to mount the LED. On the GLS model you can use the blank
plug on the center of the dash near the windshield. |
(Click on image to open up in full size) |
With the plug removed, drill a small hole in the center of it to fit the LED snugly. Then add a couple of drops of super glue on the back of the LED to make certain it stays in the plug. You can also use an LED holder such as Radio Shack #276-079 for $.99, but it really isn't needed. |
(Click on image to open up in full size)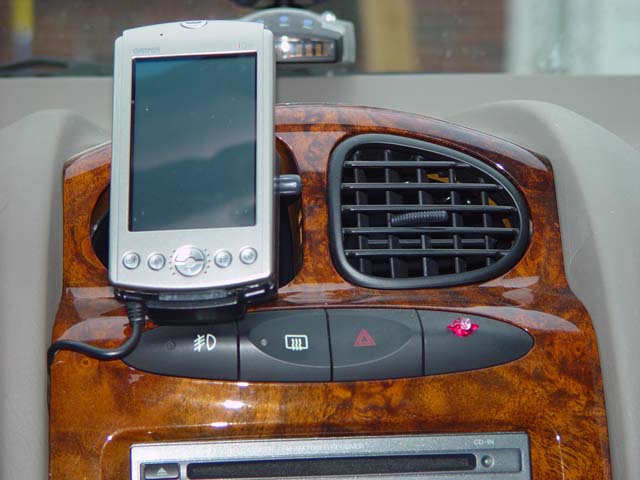 |
If you have an LX model, this plug is not available, as it is part of the automatic climate control, so you will need to pick a different LED location, such as below the radio or above it. |
Step 4: Connecting the wires.
(Click on image to open up in full size) |
Route the wires through the plug hole. Connect the wire from the resistor and positive LED lead to a constant 12 volt source behind the dashboard. You can use either of two locations. The third wire (red) on the hazard switch connector, or the first wire (also red) on the connector that provides power to the radio for the station memory. There may also be other 12 volt constant sources. Use a volt meter to determine that you have located a suitable 12 volt source before crimping the wire tap-in. I used the constant 12 volts supplied to the radio for my LED installation, although it meant removing the radio (four screws) to access the connector and wire. |
(Click on image to open up in full size)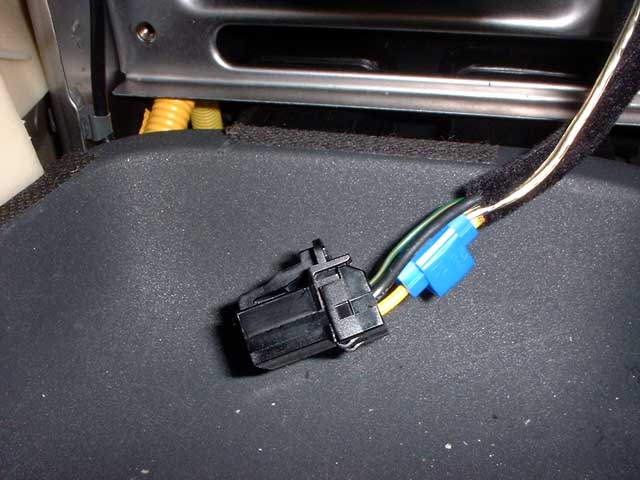 |
Connect the wire from the negative lead of the LED to a 12 volt switched source. I used the yellow power wire on the connector to the cigarette lighter and accessory outlet. Again, use a volt meter to make certain you have the correct wire.
|
|
Now at this point you may be wondering why the negative LED wire isn't connected to ground. Well, if we did that, the LED would blink all the time. We certainly don't want the LED blinking while we drive, especially at night. By connecting the negative side of the LED to a switched 12 volt source, when the ignition switch is on, there is 12 volts applied to both sides of the LED. This results in zero volts difference across the LED, and the LED will not blink (Technically, there is a small voltage differential due to the dropping resistor, but it's not enough to power the LED). When the ignition switch is off, the power to the cigarette lighter drops to zero. Since the positive side of the LED is connected to a constant 12 volts, there is now a voltage differential, and the LED starts blinking. The blinking LED from Radio Shack only draws 12mA, so the drain on your battery is extremely small. The life of the LED is estimated at 100,000 hours (about 11 years). I realize that this isn't the ideal solution with a blinking LED to indicate when the alarm is actually on, but it is a cheap and easy way to gain the appearance of an alarm LED for the Santa Fe. As usual, I assume no responsibility for any damage caused by these instructions. If you are not sure how to do all this, get someone to help you who understands these instructions and has the technical ability to properly complete the installation. It's always better to take some extra time and do the job right the first time rather than mess up your nice new Santa Fe. |
Step 5: Final Views.
(Click on image to open up in full size) |
At Dusk |
(Click on image to open up in full size)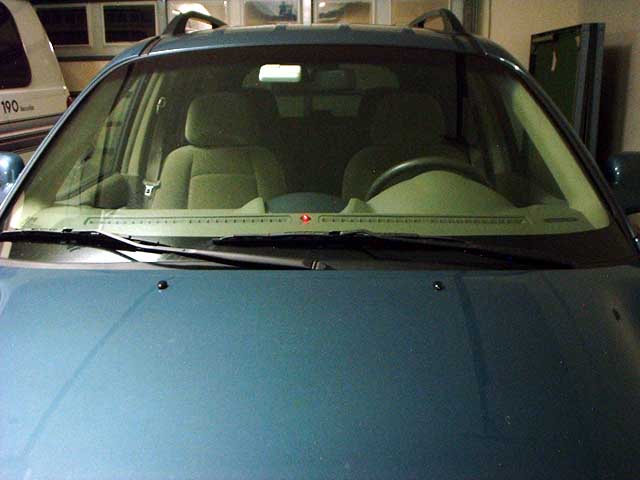 |
Exterior View |
(Click on image to open up in full size)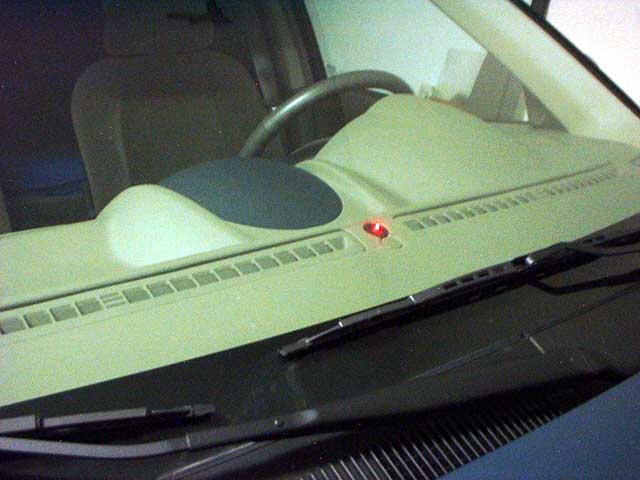 |
Exterior Close up |
(Click on image to open up in full size)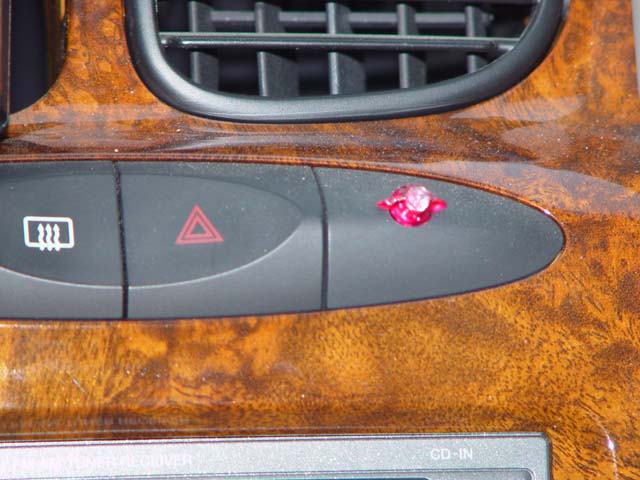 |
Interior view on a LX. |
Additional information:
(Click on image to open up in full size)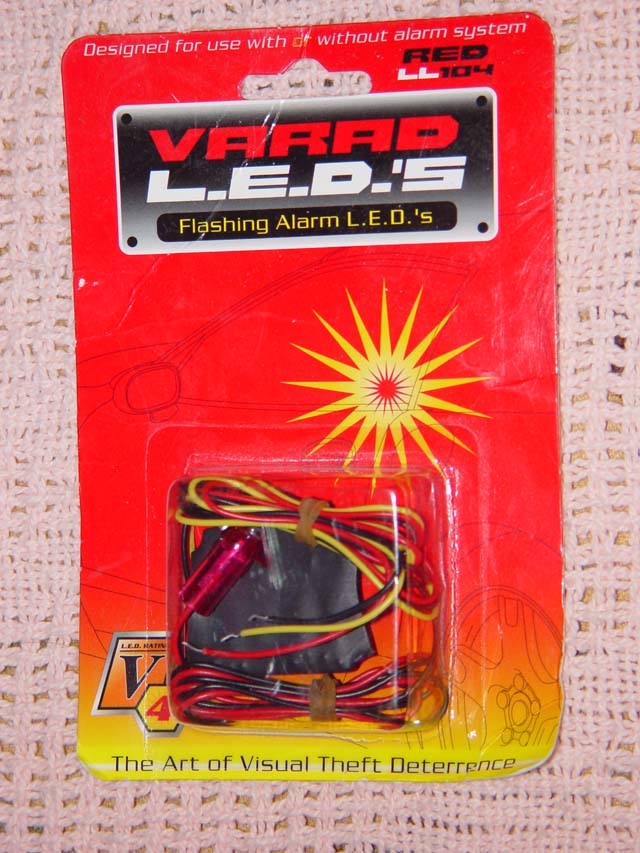 |
You can also get any flashing LED such as the Varad Red LL104 shown here from any auto parts store. |
This site was last updated 02/08/06