
Description
| Putting on a length wise car decal.* |
Disclaimer *
| The following Do It
Yourself guide is acquired from the
Motorcraft.co.kr web site and is
copyrighted. As such, it is only reprinted here for informational purposes
only and to be used as a basic guideline of what can be done to your
vehicle. The provided translation of the text is my interpretation of what the
images are showing and should not be taken as actual Korean to English
translation of such text nor taken as the actual steps taken to perform the
modification. User discretion and implementation is advise. The original DIY page can be accessed by clinking on the Korean Title link below. |
| Original DIY # | 4 |
Cache ID # |
7 |
Posted on: |
2002/04/15 PM 11:22 |
|---|---|---|---|---|---|
| Application | All models (Passenger and SUV types) | ||||
| Korean Title | 베일사이드(VeilSide)라인 장착과정사진 | ||||
| English Title | Veilside line decal install | ||||
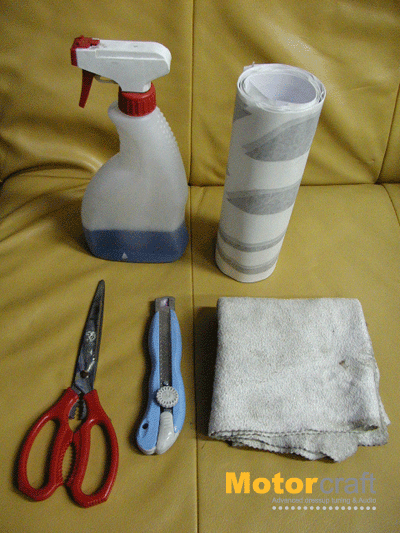 |
1. 준비물을 챙깁니다. 라인스티커, 퐁퐁탄물 또는 글라스워셔분무기, 마른융, 커터칼, 가위등 |
| 1- Cleaner, decal, scissors, X-acto knife and cloth |
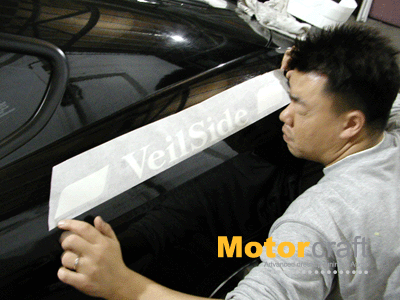 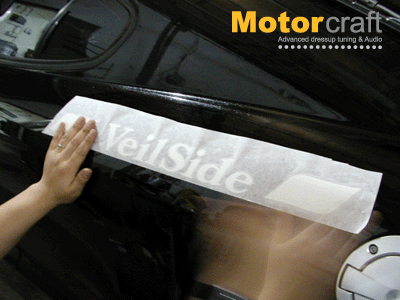 |
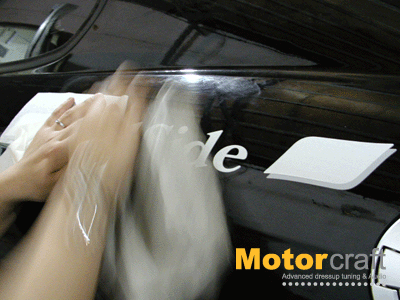
2. 차를 훓어보며, 라인을
정한후, 분무기로 살짝 뿌린후(많이 뿌리시면 안됩니다) 뒤쪽 'VeilSide'글자부분부터 붙입니다.(꼭 뒤에서부터 붙이셔야 합니다) |
| 2- Place the decal on the side of the vehicle. |
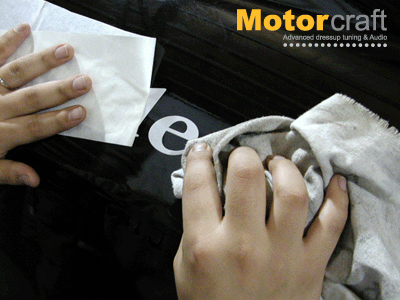  |
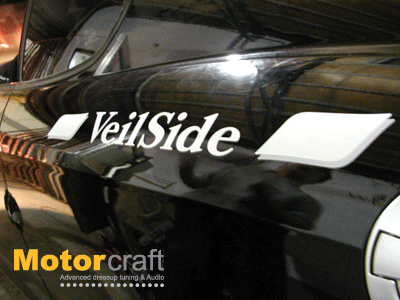
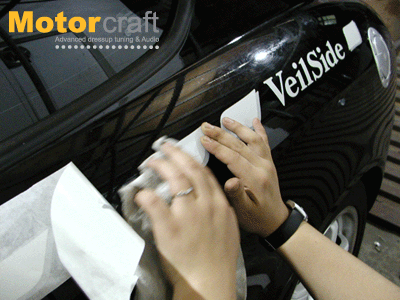
3. 붙인후, 겉종이를 살살
떼면서 융으로 누르는 기분으로 닦아가며 붙입니다. 베일사이드 라인은 투피스로 되어있기때문에 힘을 많이주거나 옆으로 닦으면,스티커가 밀리는 현상이 발생합니다. |
| 3- Gently pulls the backing off the decal. |
 |
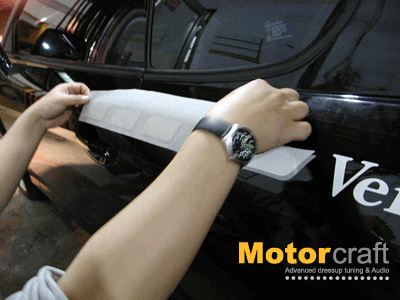
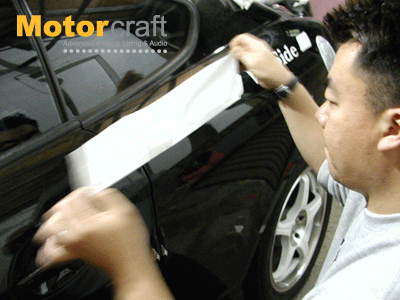
4. 뒷글자가 다 붙여진 모습입니다. 시작이반이죠~ ^^ 기본이 완성되었습니다. |
| 4- View of decal. |
|
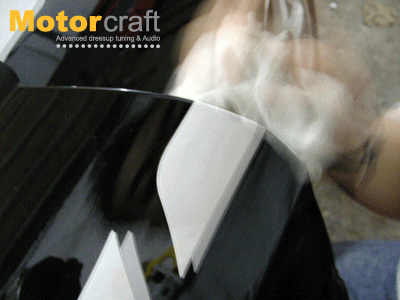
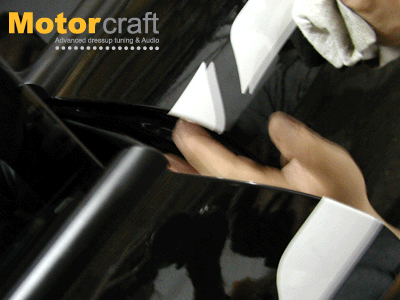
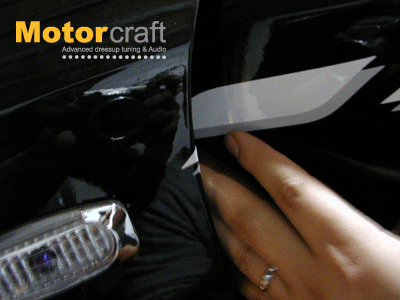
5. 이제 옆라인을
붙여나갑니다. 아까처럼 먼저 살짝 물을 뭍히고, 간격을 맞춰서 산삼뿌리다루듯 ^^; 조심스럽게 눌러가며 붙여나갑니다. |
| 5- Put the second part of the decal on the vehicle. |
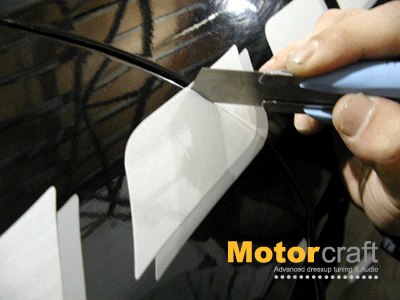    |
6. 문짝등 잘린곳을 만나면, 일단 붙이고 커터칼로 자른후 양쪽을 붙여주시면 됩니다. x |
| 6- Using the X-acto knife trim the decal around the doors. |
 |
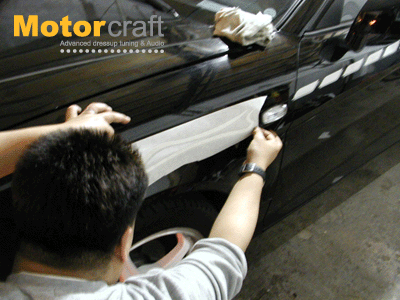
7. 문짝라인을 같은요령으로 정성스럽게 붙여주시구요~ |
| 7- Place another part of the decal on the remaining part o the door. |
 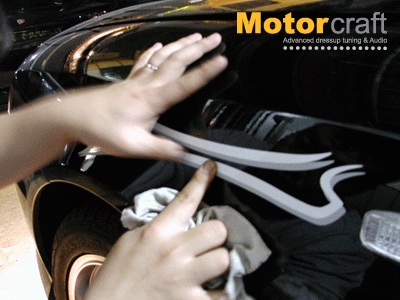 |
8. 이제 베일사이드라인의 정점~ 물고기모양의 스티커를 붙입니다. 방법은 위와 동일합니다. |
| 8- Gently pull the paper backing away and press the decal on the frame. |
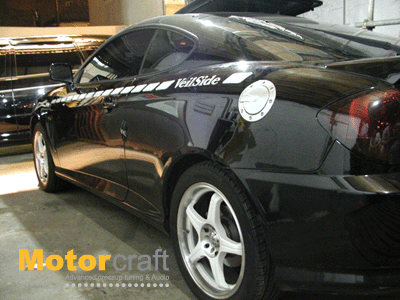 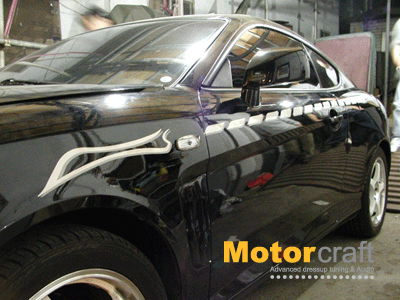 |
9. 완성된 모습입니다.
사진상으로는 쉬워보이지만.. 능숙한분이 작업하는데 한대분이 한시간정도 걸립니다. 라인을 정하고, 물을 뿌리고, 스티커를 붙여나가는데 있어서 신중에 신중을 기하셔야 합니다. 슈니처라인과 달리 투피스인점을 DIy하시면서 늘 감안하셔야 합니다. |
| 9- Final views. |
This site was last updated 02/08/06