|
OEM Fog Lamps Installation
Original idea: Santa Fe forum's member, Sport Hound
Modders and testers: Sport Hound
Author of procedures: Sport Hound
If the pictures don't load for some reason, hit the REFRESH/RELOAD button.
Click on image to enlarge. Hit the browser Back button (or Backward arrow) to go back once.
|
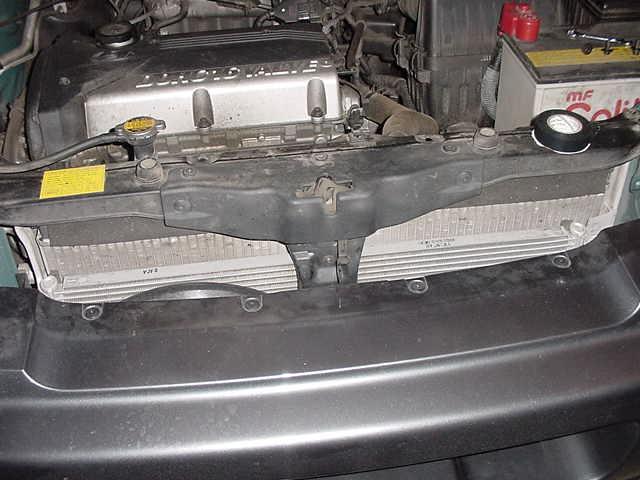
To install the OEM fog lamps that you got on the side, make sure you have a short stem and handle
philip screw driver for underside reaches, and a 10mm wrench/ratchet socket. First, remove the two
headlamps by remove the 3 10mm bolts holding each headlamp unit down. Unscrew the top and
bottom plastic and metal screws on the bumper, including the two on the very far left and right of the
bumper (on the underside of the vehicle near the ends of the bumper). If these screws are not remove, good
luck in yanking off the bumper. After removing the screws, now remove the 10mm bolts. Then gently remove the
bumper by yanking it forward to the front of the vehicle. If the bumper don't come off easily, sway it side to
side to loosen up the bumper, then yank it with a bit of force. If it still don't come off, make sure you have
all the nuts and bolts taken off.
|
 Click on image to enlarge. Hit the browser Back button (or Backward arrow) to go back once.
|
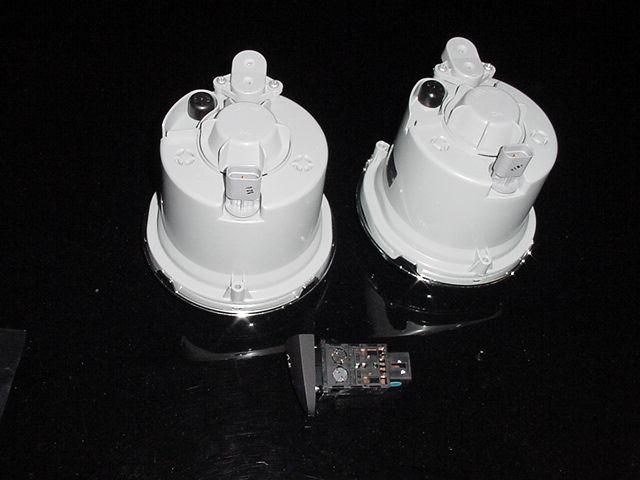
These are the images of the OEM fog lights and switch you can purchase from an aftermarket dealer/seller.
|

Click on image to enlarge. Hit the browser Back button (or Backward arrow) to go back once.
|
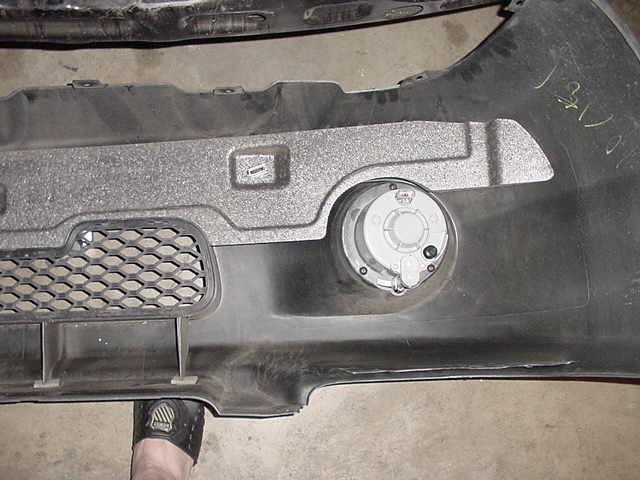
Use a phillip screw driver to unscrew the 3 screws holding the fog lamp cover from each side. The the
fog lamps, insert them in from the front of the bumper, with the turning bolt on the lamps facing upward.
If you don't know what I mean, try to look at the bumper from the front. You'll see little holes on top of
of the fog lamp slots. Those holes are for the screw drivers insertion to turn the bolts on the lamps, for
high and low aim settings. Screw the screws back on.
|
Click on image to enlarge. Hit the browser Back button (or Backward arrow) to go back once.
|
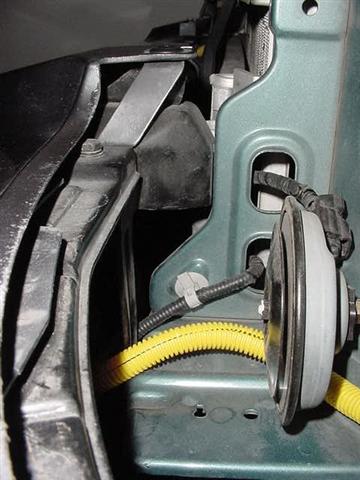
Now find the fog horns. Each fog horn wiring split into two sets of wire, enclosed by a 2cm black tube. The
tube splits into two sets of wires, one for the horn, and one for the fog lamps. you can't miss them. Take
the fog lamp wires, pull and place them into the side in the head lamps holes. Put back the bumper.
Notice:The bumper has two piece of plastic strips on the top side of the bumper,
locating on each side of the bumper. These plastic strips are to be on top of the metal bumper part of the
vehicle. As you place the bumper on, make sure all the platic guards near the wheel area are inserted to the
underside of the bumper. Fit the bumper back on, put the plastic screws back on at the top of the bumper, plug
in the fog lamp cable to the fog lamp units, and put all the screws and bolts back on afterward.
|
Click on image to enlarge. Hit the browser Back button (or Backward arrow) to go back once.
|
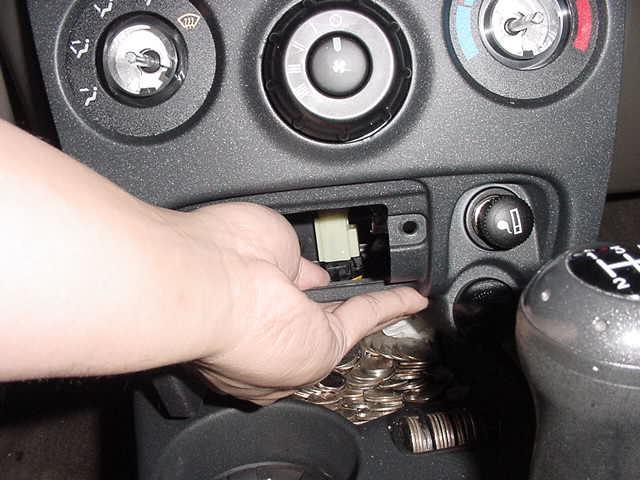
Now for the switch. Quite easy to install actually. Remove the ash tray by taking press on the ash tray lever
down, and pull the tray out. Remove two screws that you see. Take your hand, hold the bottom
part of the ash tray, and yank it with a bit of force towards you, away from the console. Becareful not to yank
too far because the wires attaching to the console face is short. You'll then see another 2 screws.
|
Click on image to enlarge. Hit the browser Back button (or Backward arrow) to go back once.
|
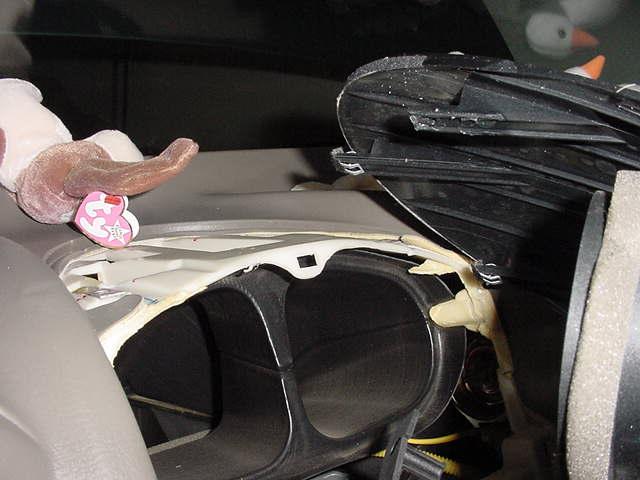
After remove the screws, pull the bottom parts outward slowly but with a bit of force. To remove the upper console
face completely, make sure you have one hand on the bottom, and one hand on the top of the console, and give it one
good yank outward towards you. If you see too much tension on the console face, take the screw driver, line it with tapes or padded
cloth, run it along the edge of the console face, it the face will pop out. Don't yank the console face too far out. Reach
to the back of the top console face, feel for the two hinges holding the black non-depressable button on the left of
the rear window defroster, squeeze them together inward, and push them forward. The button is attached to a wire harness.
Remove the harness from the dud button, plug the wire onto the switch, shove the switch in, and you're done. Reassemble
your console all over again.
|
|
|


